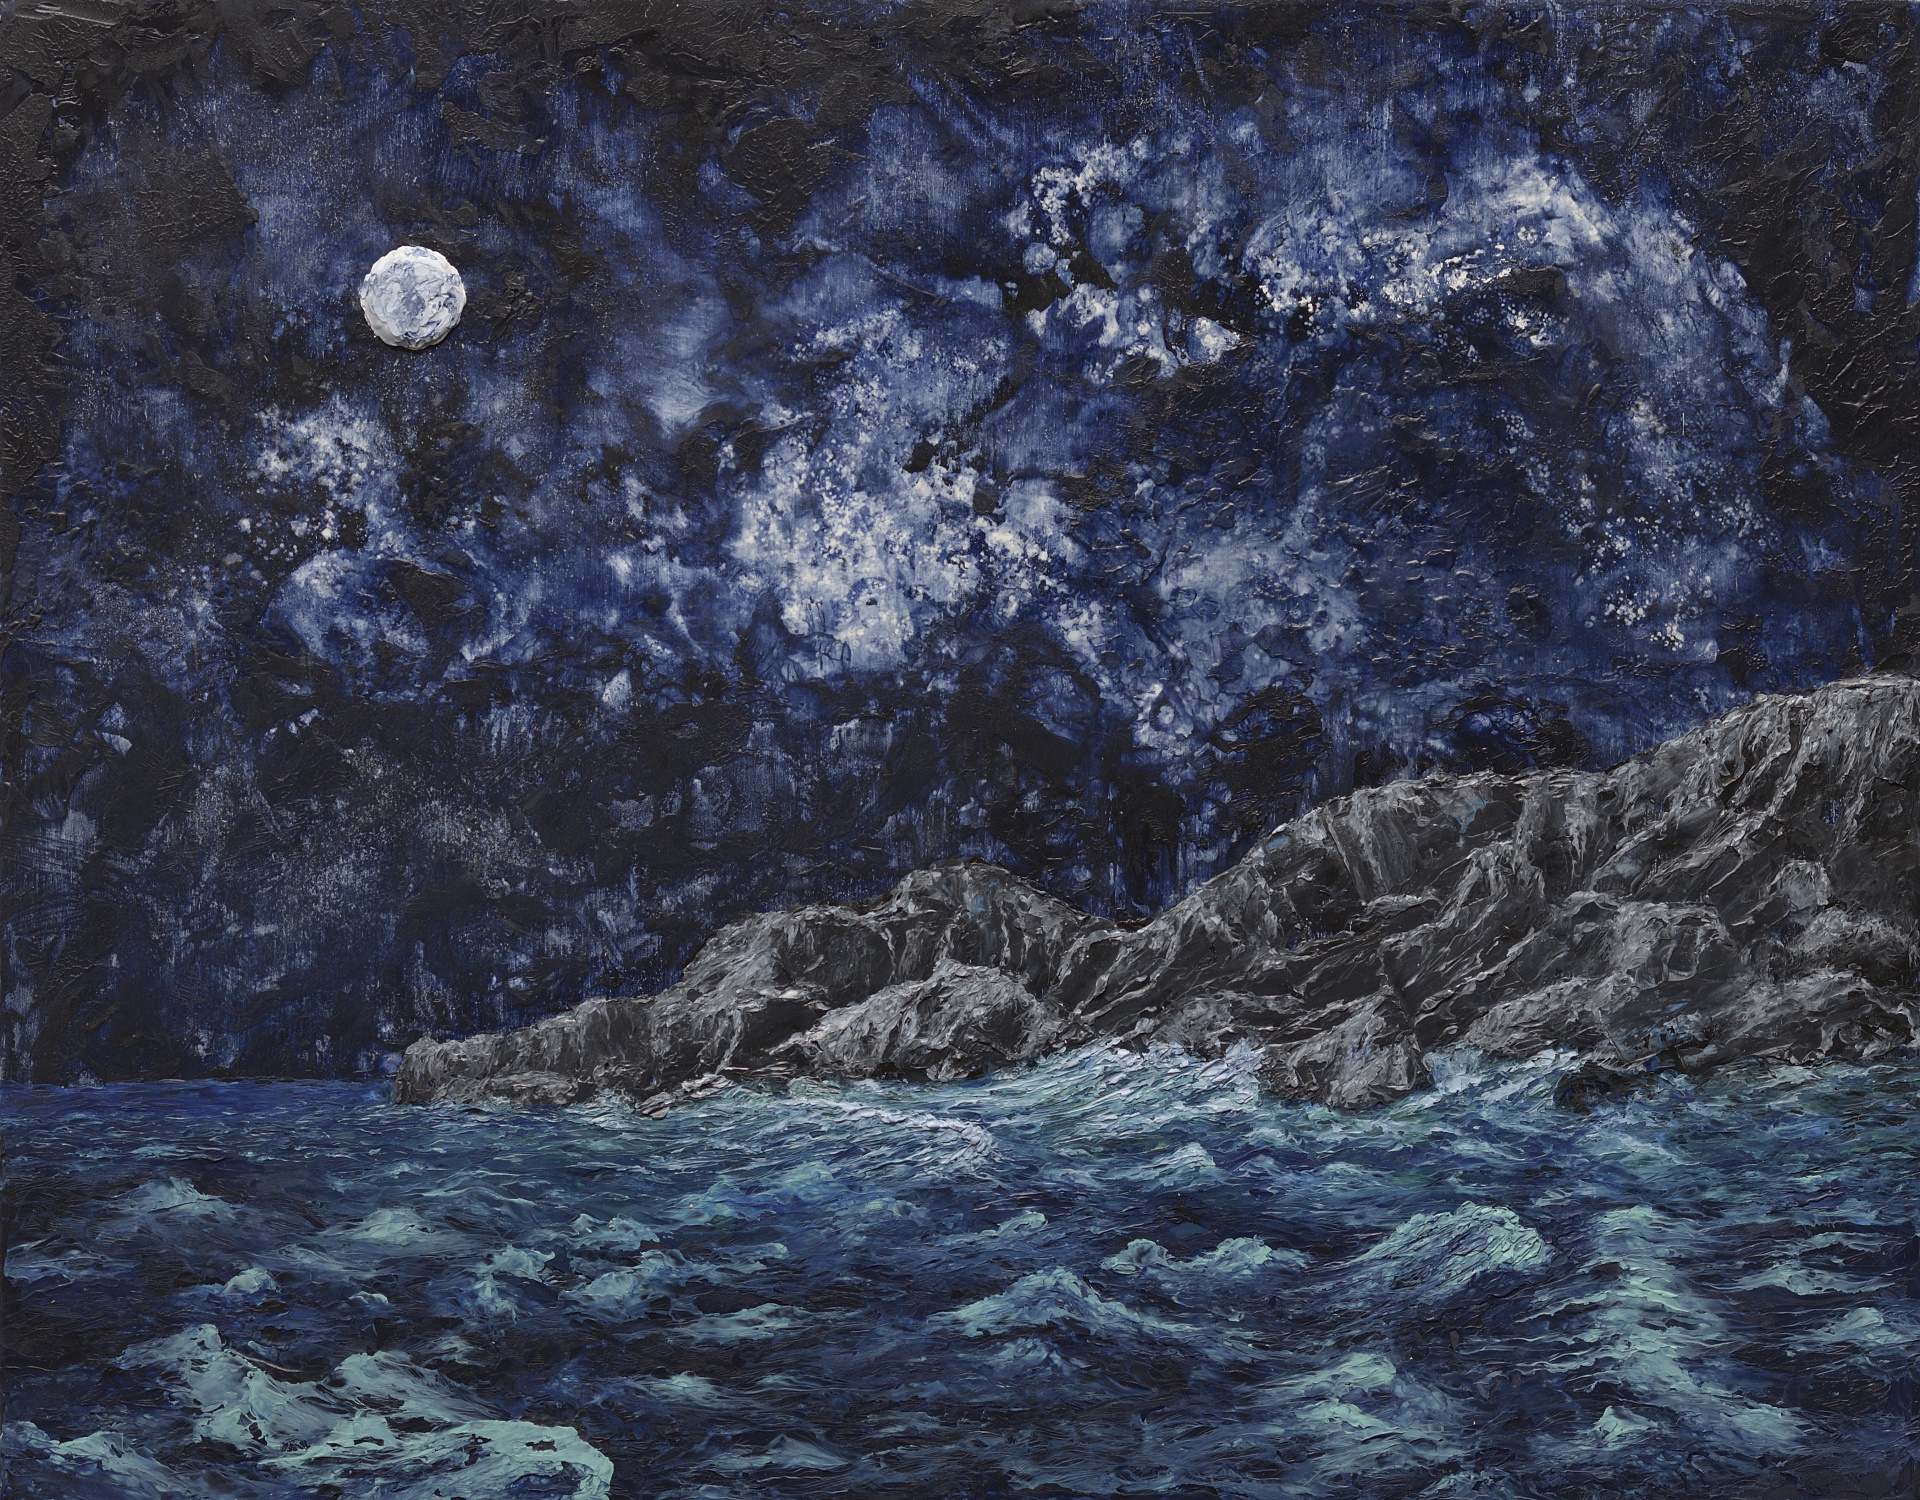
Stellar Project I was painted using oil and wax on an 11 x 14 inch cradled birch panel. This is a twilight scene of waves crashing against a shoreline on a clear winter evening.
Concept
My primary goal was to convey the starkness, vastness and clarity of a cold winter night sky with the brilliance of the stars and full moon illuminating a rocky shoreline and rough seas. There is a feeling of the cosmos one experiences while stargazing in the wilderness—this is what I wanted to attempt to reflect.
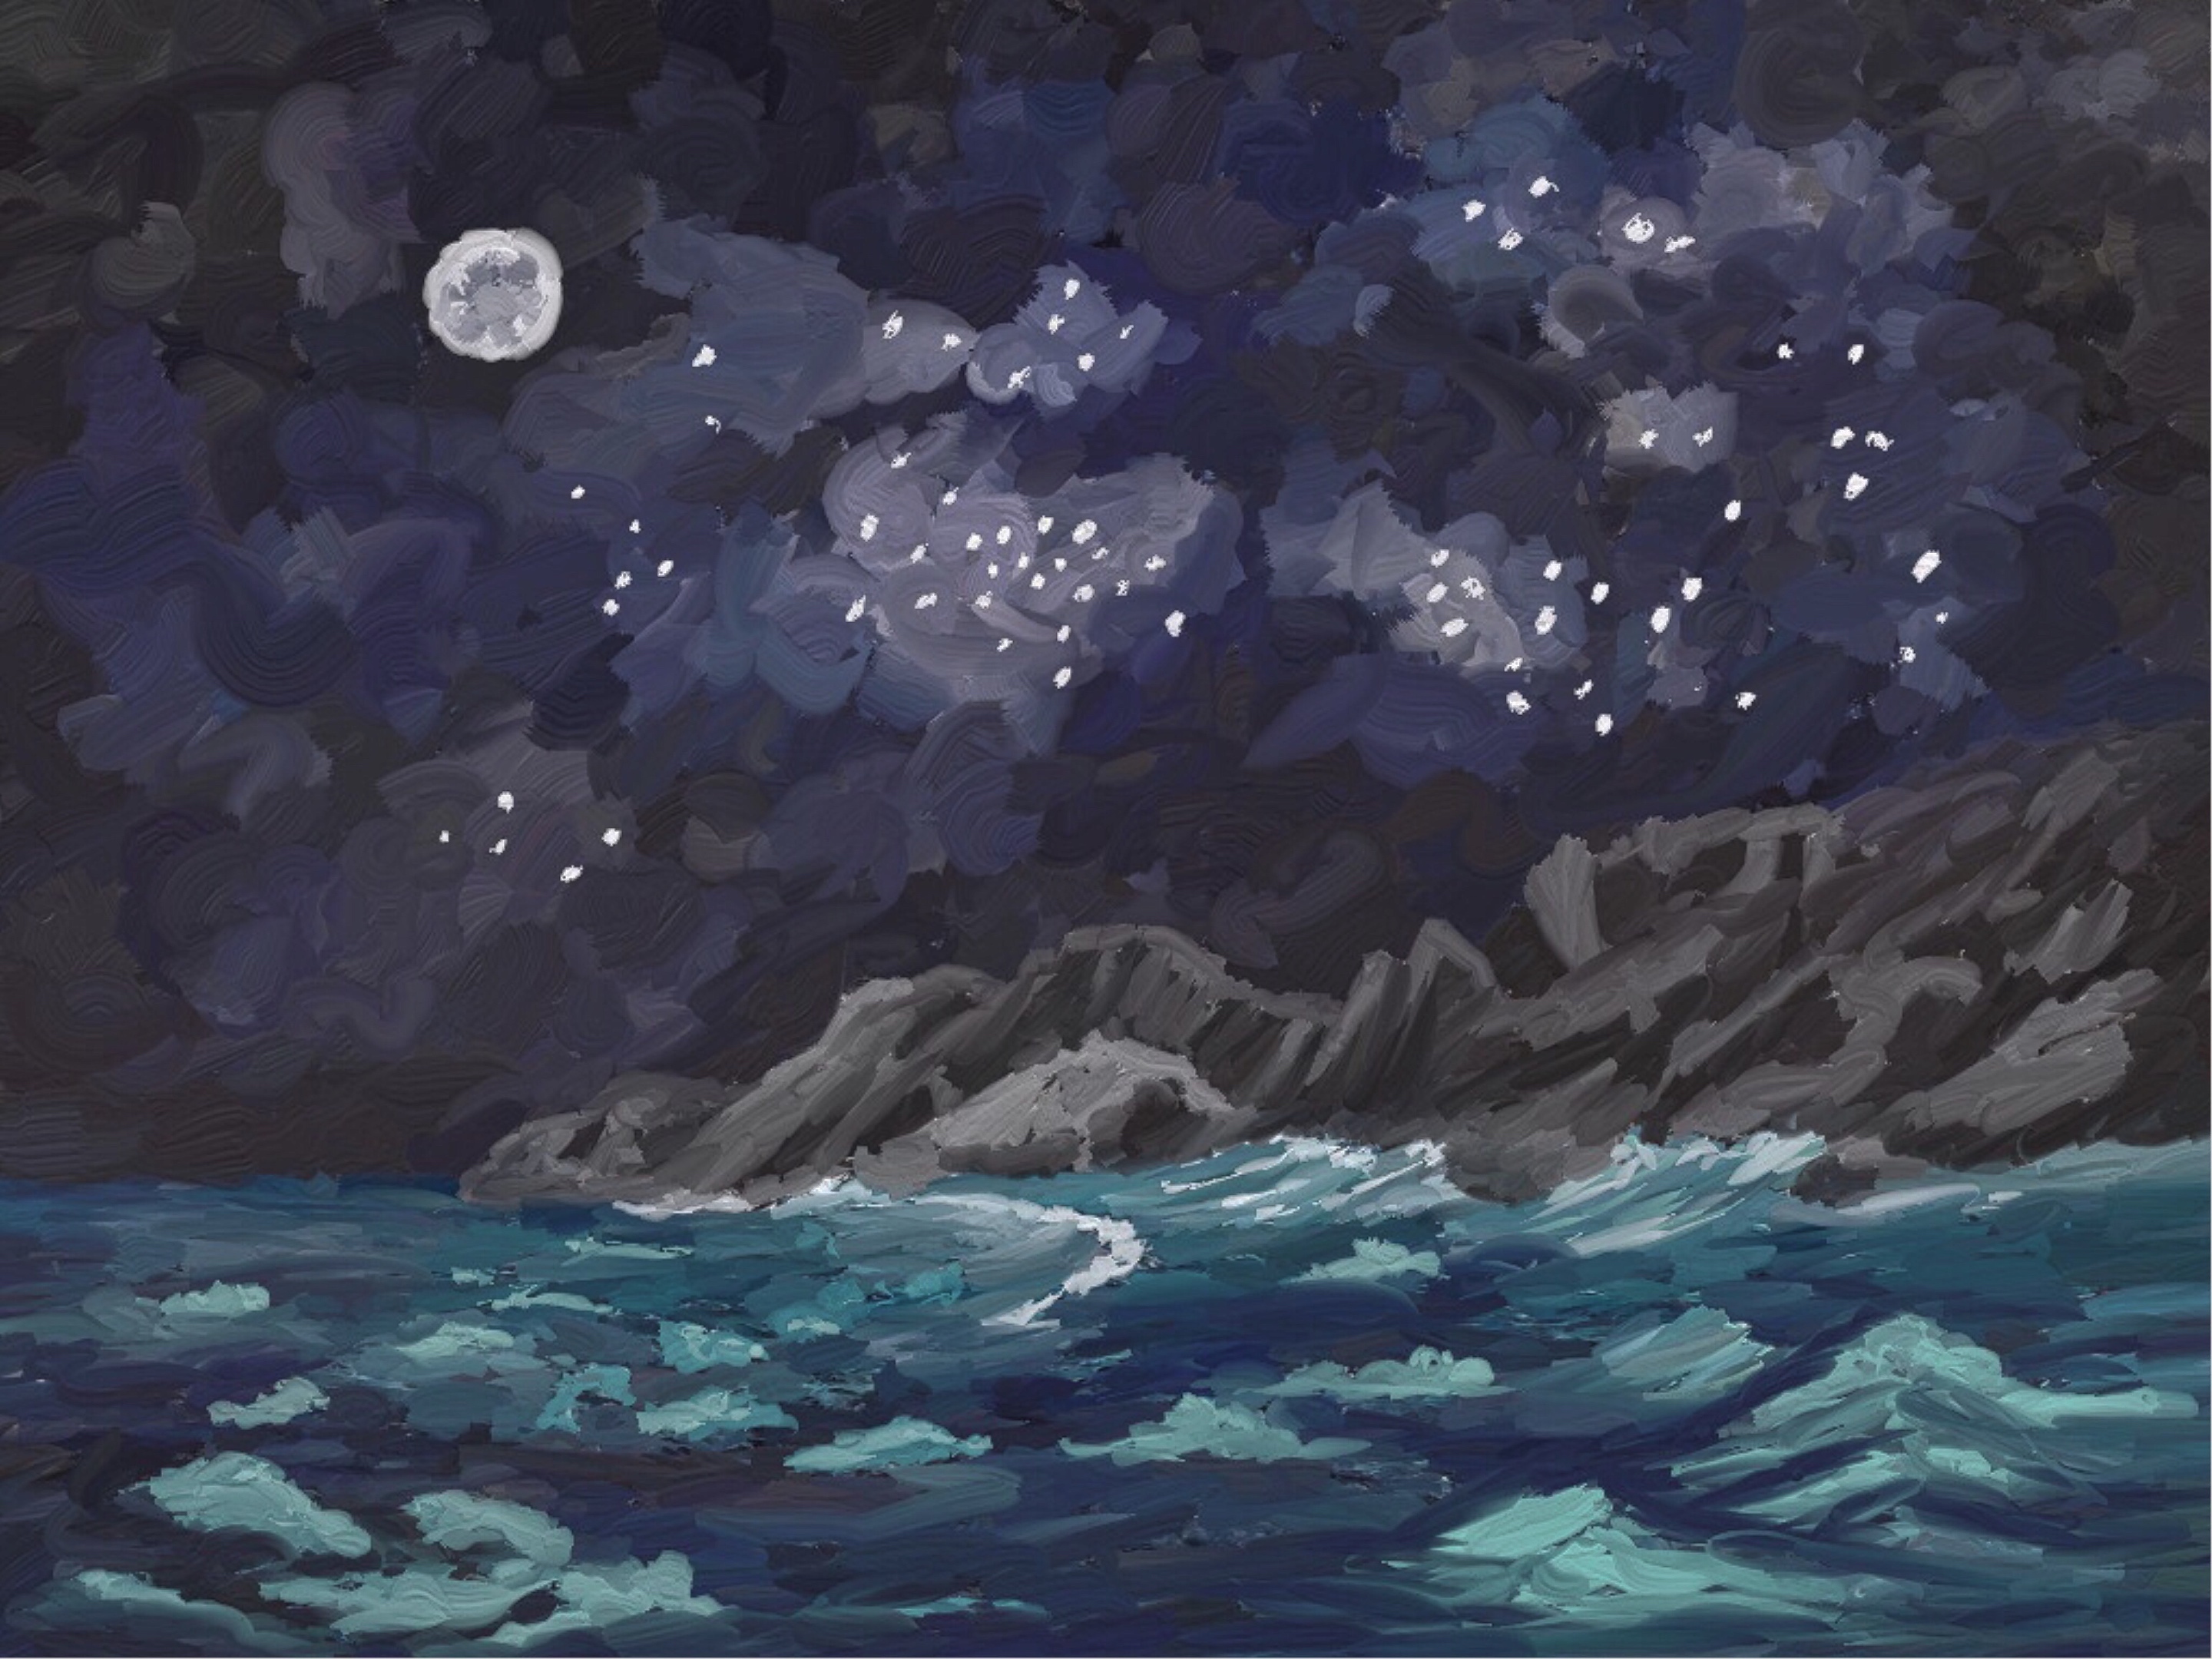
Here is a paint sketch of the scene that inspired this painting:
Challenges
Nature at night is difficult to portray; there are deliberate choices and compromises that an artist must make when painting difficult scenes—all of which directly impact their degree of success.
1. This is a dark scene, and I wanted to convey the mood and cold of the evening. Regarding colour at night…well, exactly! What colour? In low illumination levels, our peripheral (primarily black and white) vision is better than our head on/forward (primarily colour) vision. This is what creates a tendency to want to turn one’s head when we sense something beside us at night. Every painting of a dark scene needs a source of illumination/light, in this case, a full moon.
2. There is a distinct feeling associated with being in the wilderness at night (not being able to see clearly, the sounds or lack thereof, smells and, perhaps, even some dampness in the air) that is truly difficult to visually convey. There are a number of techniques that artists employ (painting on a shade of grey vs. the white of canvas/paper, use of directional illumination, cold colours, incorporating warm coloured light sources, painting dark areas with little or no detail, specular highlights, bright reflections…); quite often, however, efforts fall short. I wanted to make this painting be about the night sky…utter darkness with wind and luminous stars.
3. Seas on clear nights are, typically, relatively calm. I wanted to capture ominous dark water and wave action (something one would feel and sense just as much as be able to see).
These are some of the challenges that motivate some artists to explore nature at night as subject matter.
Artistic Intent
1. Painting the dark:
I used a translucent dark purple colour with a variety of concentrations in different areas of the sky to make the sky the centre of interest. I also used this same colour with some blue to paint the water and the moon. The only other colour is the turquoise used to paint the waves. The rocky point is a neutral grey with some black. There are a few larger breaking waves near the shoreline that are highlighted in a lighter blue (larger waves would reflect more of the moonlight and be brighter).
2. Capturing the glow of starlight:
The revealing and transformative qualities of light are core elements of my approach to painting, and this piece typifies this. The sky was painted with multiple layers and textures to create a sense of luminosity and deep darkness. I painted on a base of bright white as it would reflect the most light through the many layers of translucent paint applied overtop. The stars are UNDER multiple layers of translucent purple paint—they are not painted dots sitting on top of a dark sky colour (as in the painting sketch above). This technique creates a depth to a painting that cannot otherwise be replicated (only simulated). There is a sense of movement and expansiveness in the sky created by the arrangement of stars, their surrounding areas of brightness/glow and the varying areas of texture and dark colour.
3. Painting the water:
Water at night is dark. The waves are turquoise, and the troughs are dark blue-black. The water is illuminated only from the light of the full moon. I wanted the viewer to focus on the sky, so I chose not to incorporate the moon’s specular highlights/reflections in the water as that would detract attention from the sky. These reflections would have been a necessary element had I been aiming for a more realistic rendition of the scene. What I did choose to include, however, is some math: waves at night = wind = drama:-)
Viewing Experience
There was no plan for this other than to make this painting be about the sky. It’s a simple composition with few visual cues (other than what is happening with the water breaking on the shoreline or the general left-to-right direction of the wind and breaking waves) to guide the viewer’s attention.
The only sense of scale and visual depth is provided by the water on the left receding towards the horizon line and the breaking waves on the rocks.
This is a physically small painting packed with many details and textures for the viewer to explore that create the impression of a large expanse of space. The closer the viewing distance, the more you see to explore.
** If you are enjoying this article, subscribe to receive information about my work and creative process, and also get access to my free ebook about becoming more creative.
Painting Development
1. I began by putting down a base layer of white (on my birch wood panel). I then “sprinkled” beads of (clear) beeswax in clusters on the surface in groupings; these would become my stars.
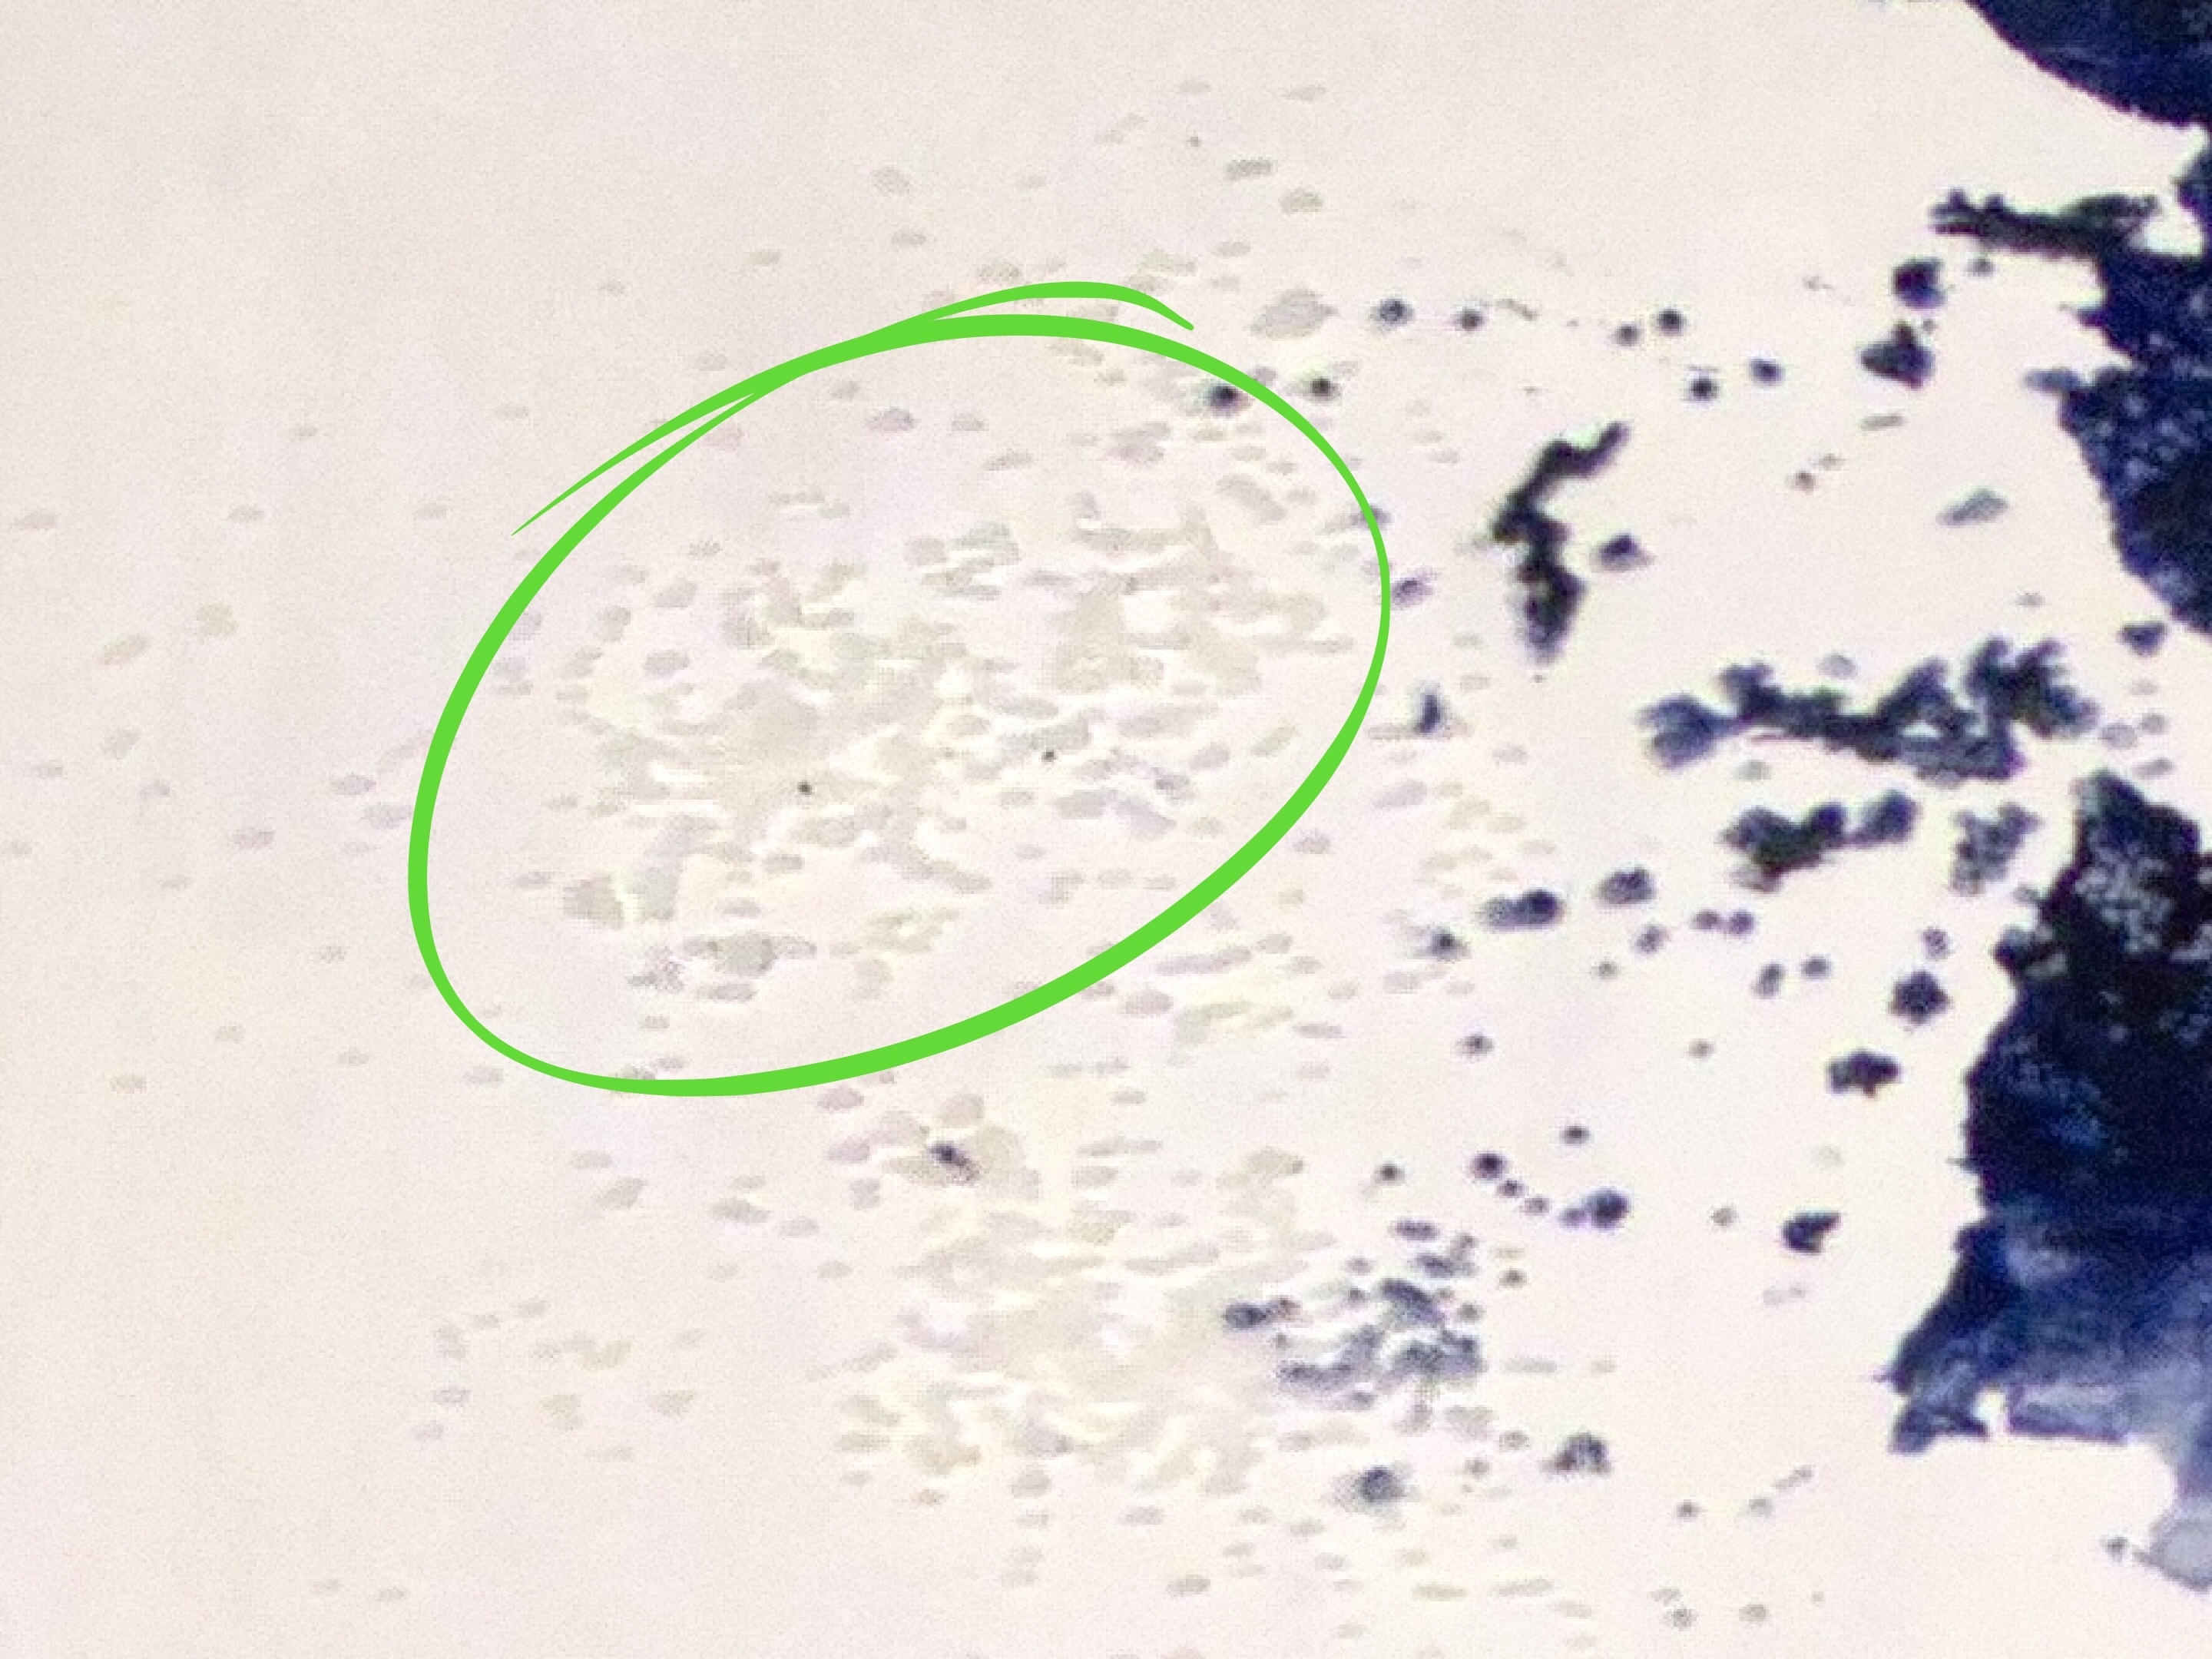
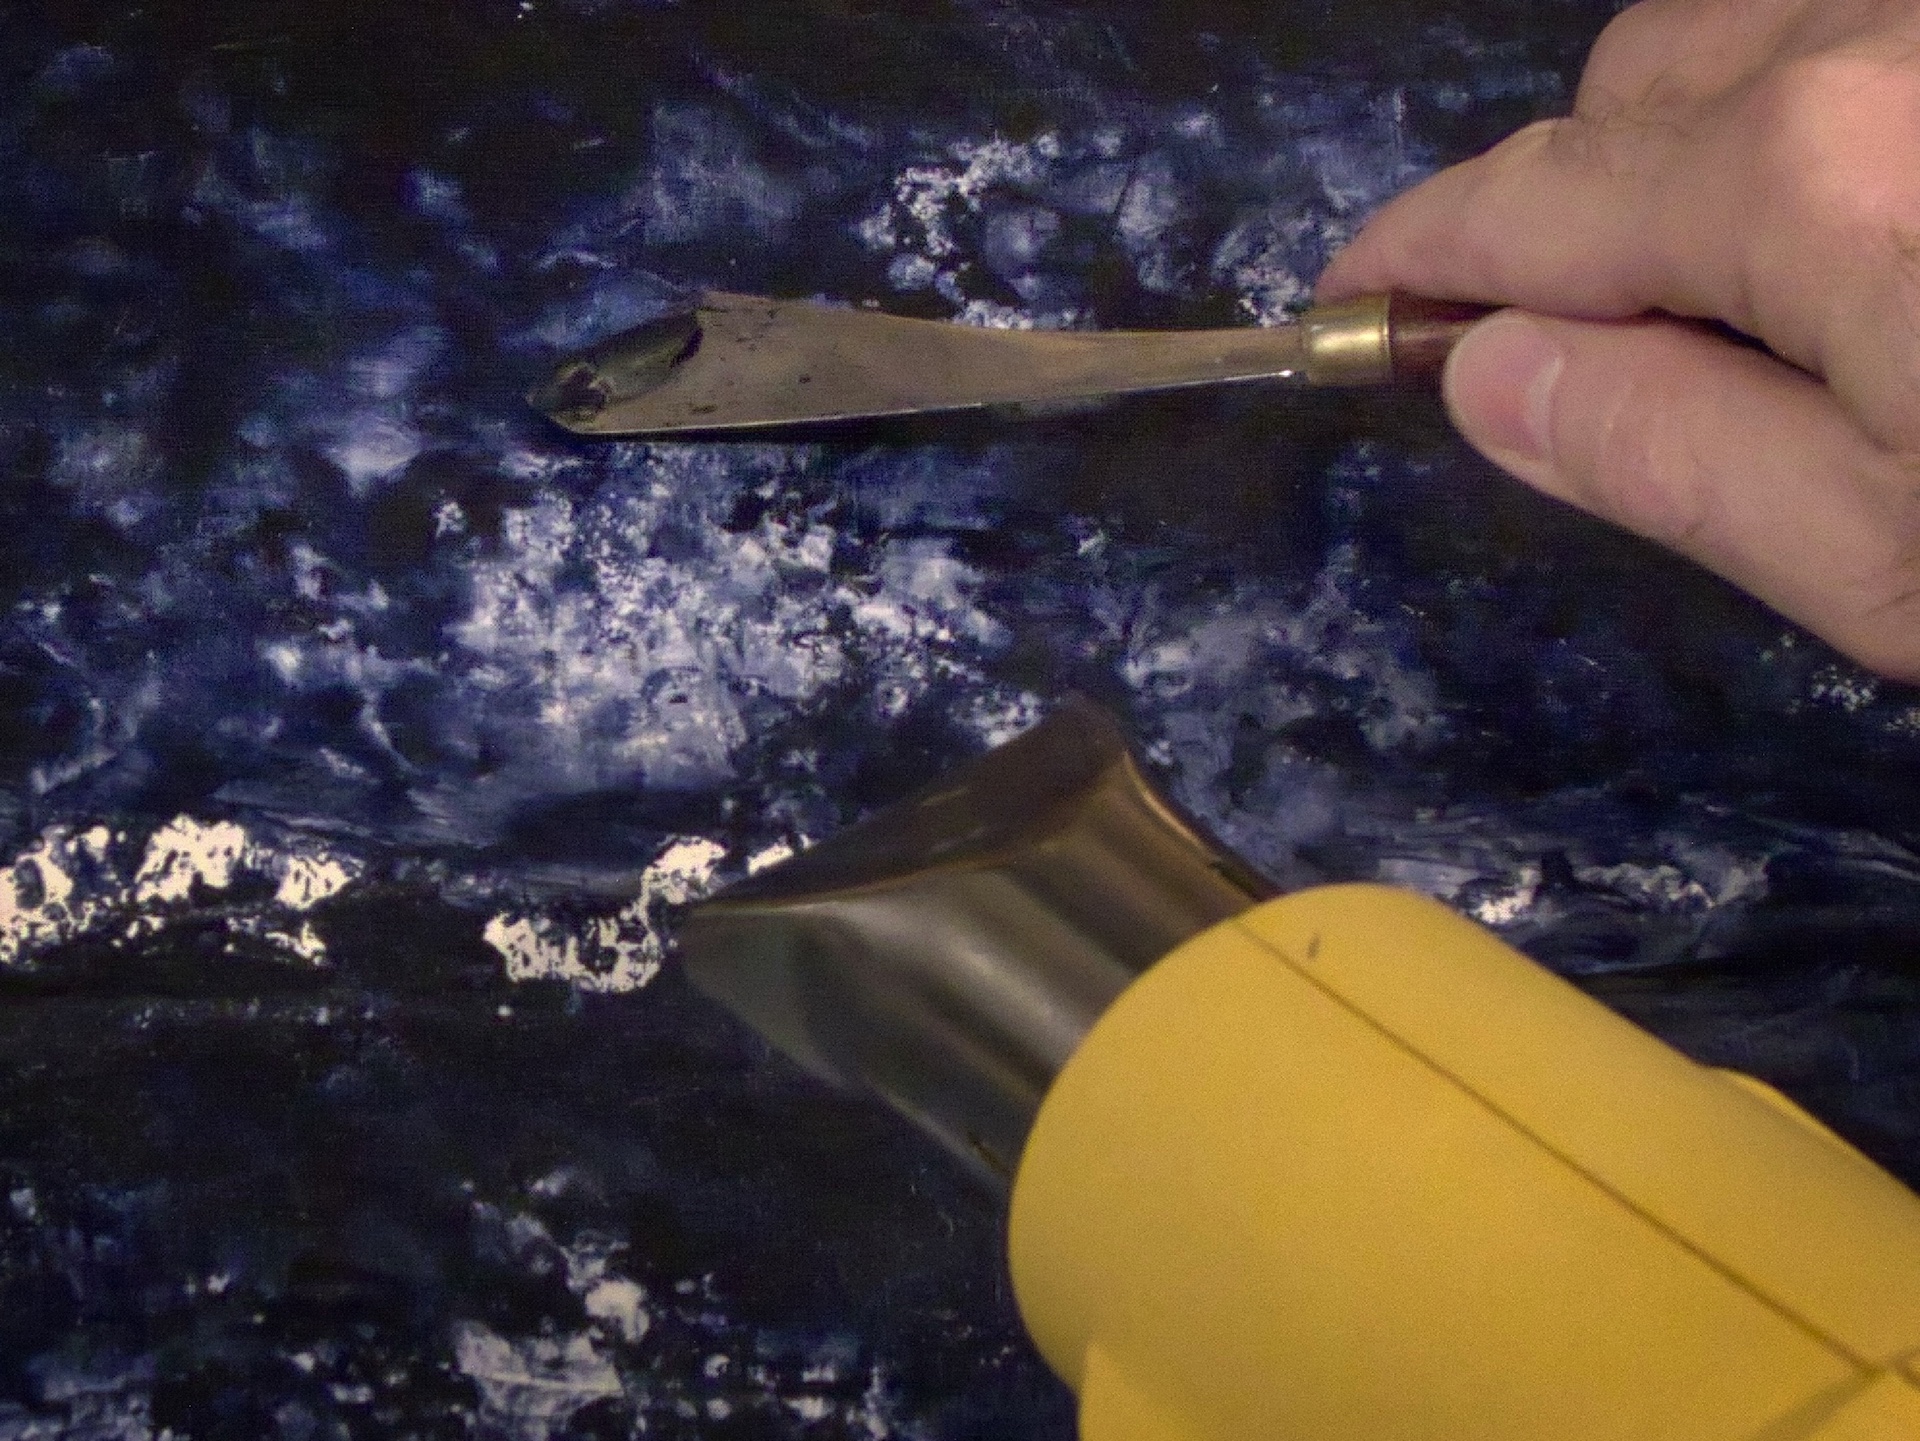
2. To create the dark sky, I applied uneven areas of grey-blue colour that I manipulated with a palette knife and the use of a heat gun to melt and blend the wax. The blending effects resulted from varying degrees of pressure and the movement/angle of the palette knife used in combination with different heat levels.
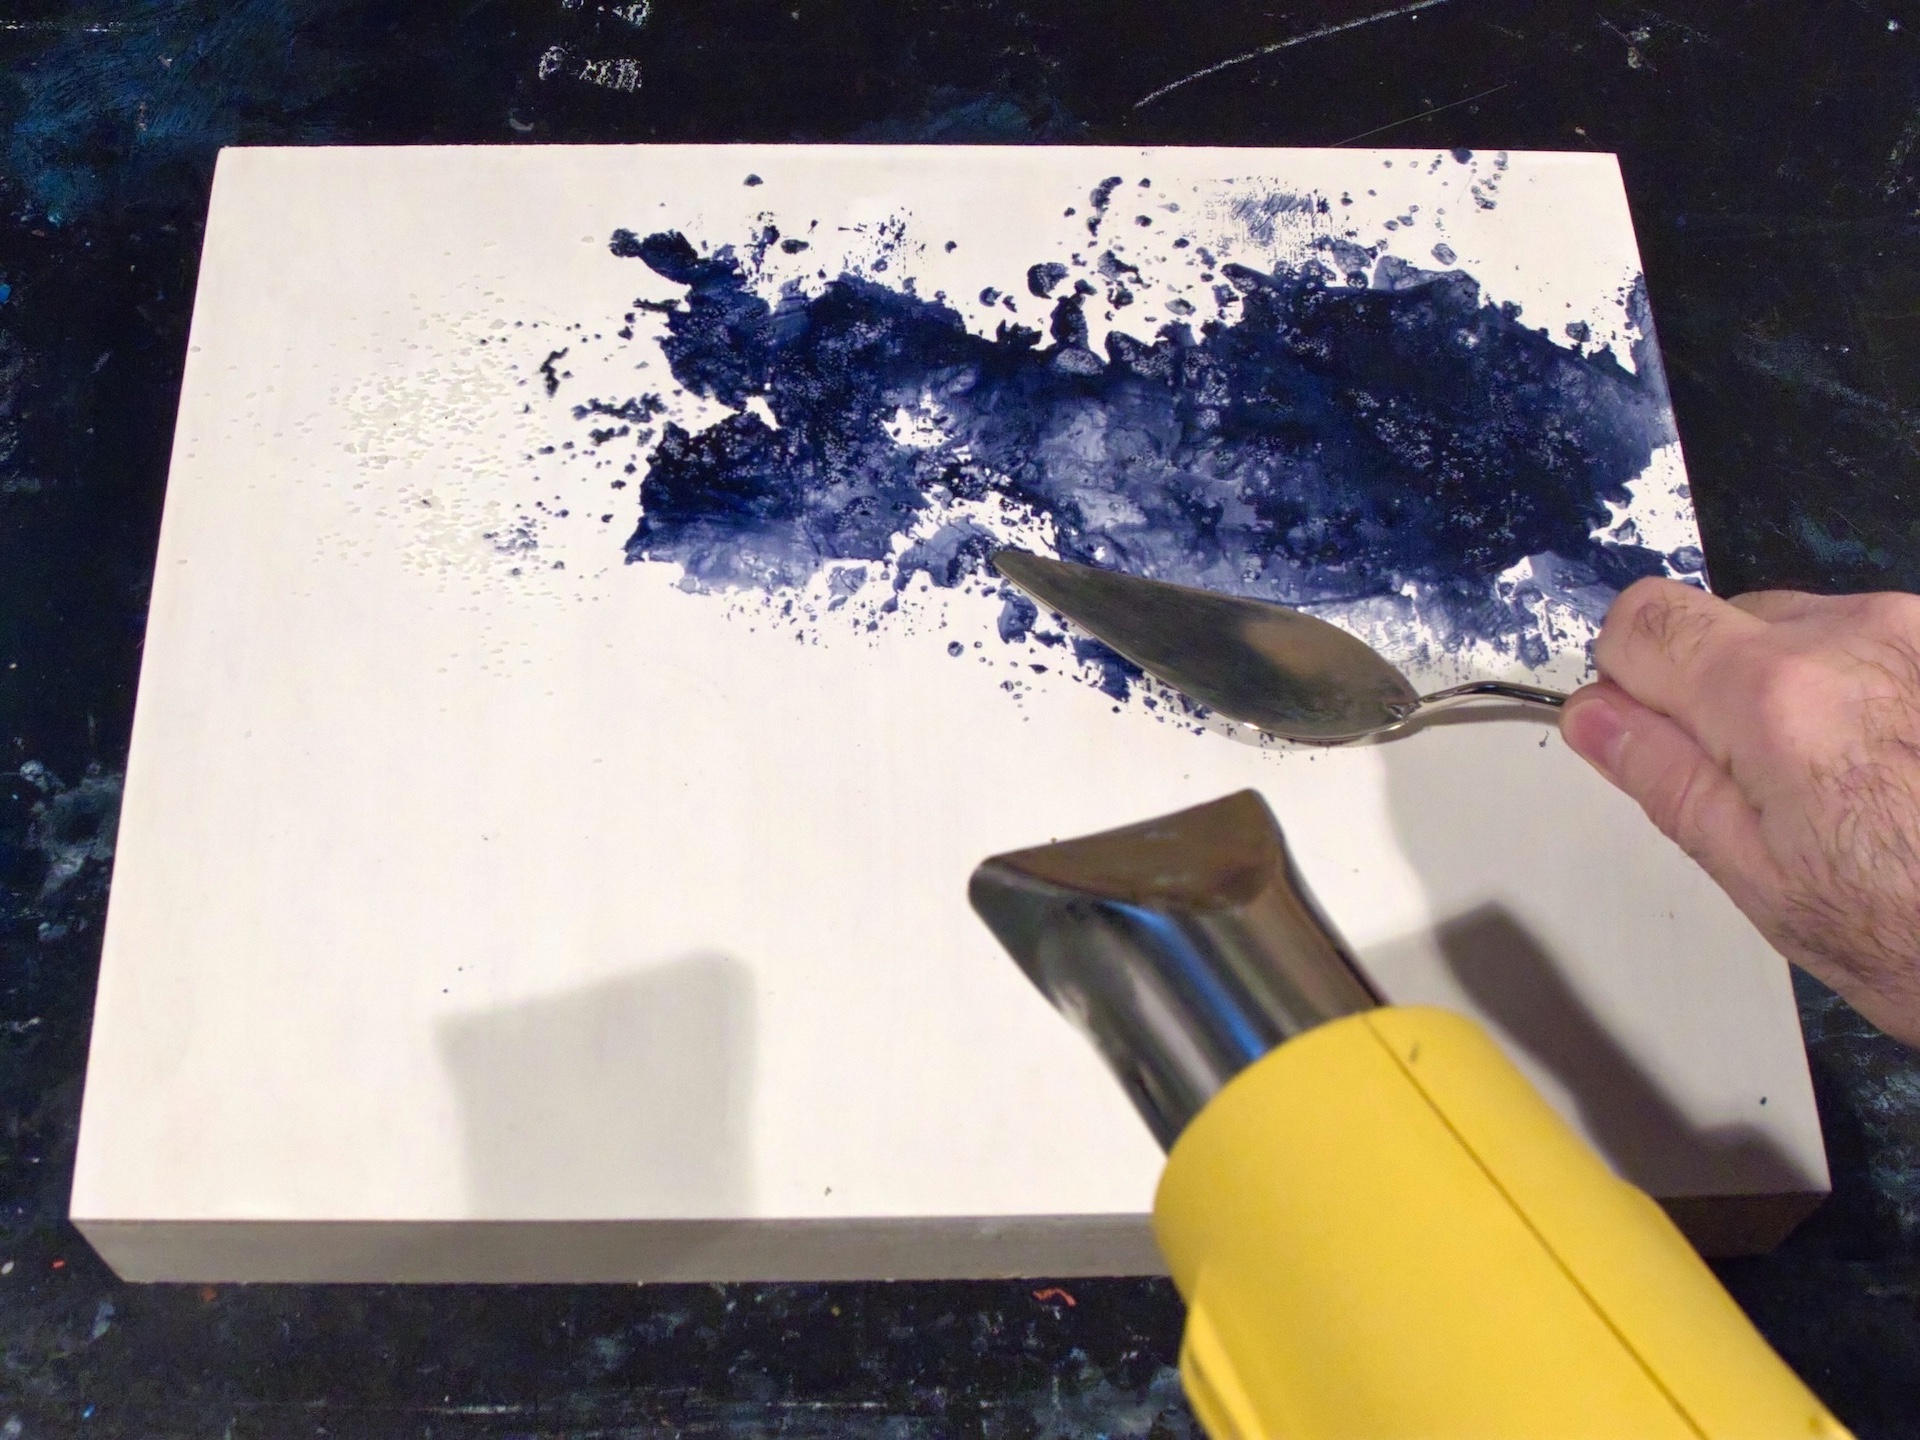
Note the stars showing through the grey-blue colour and the variety of blending effects that can be achieved.
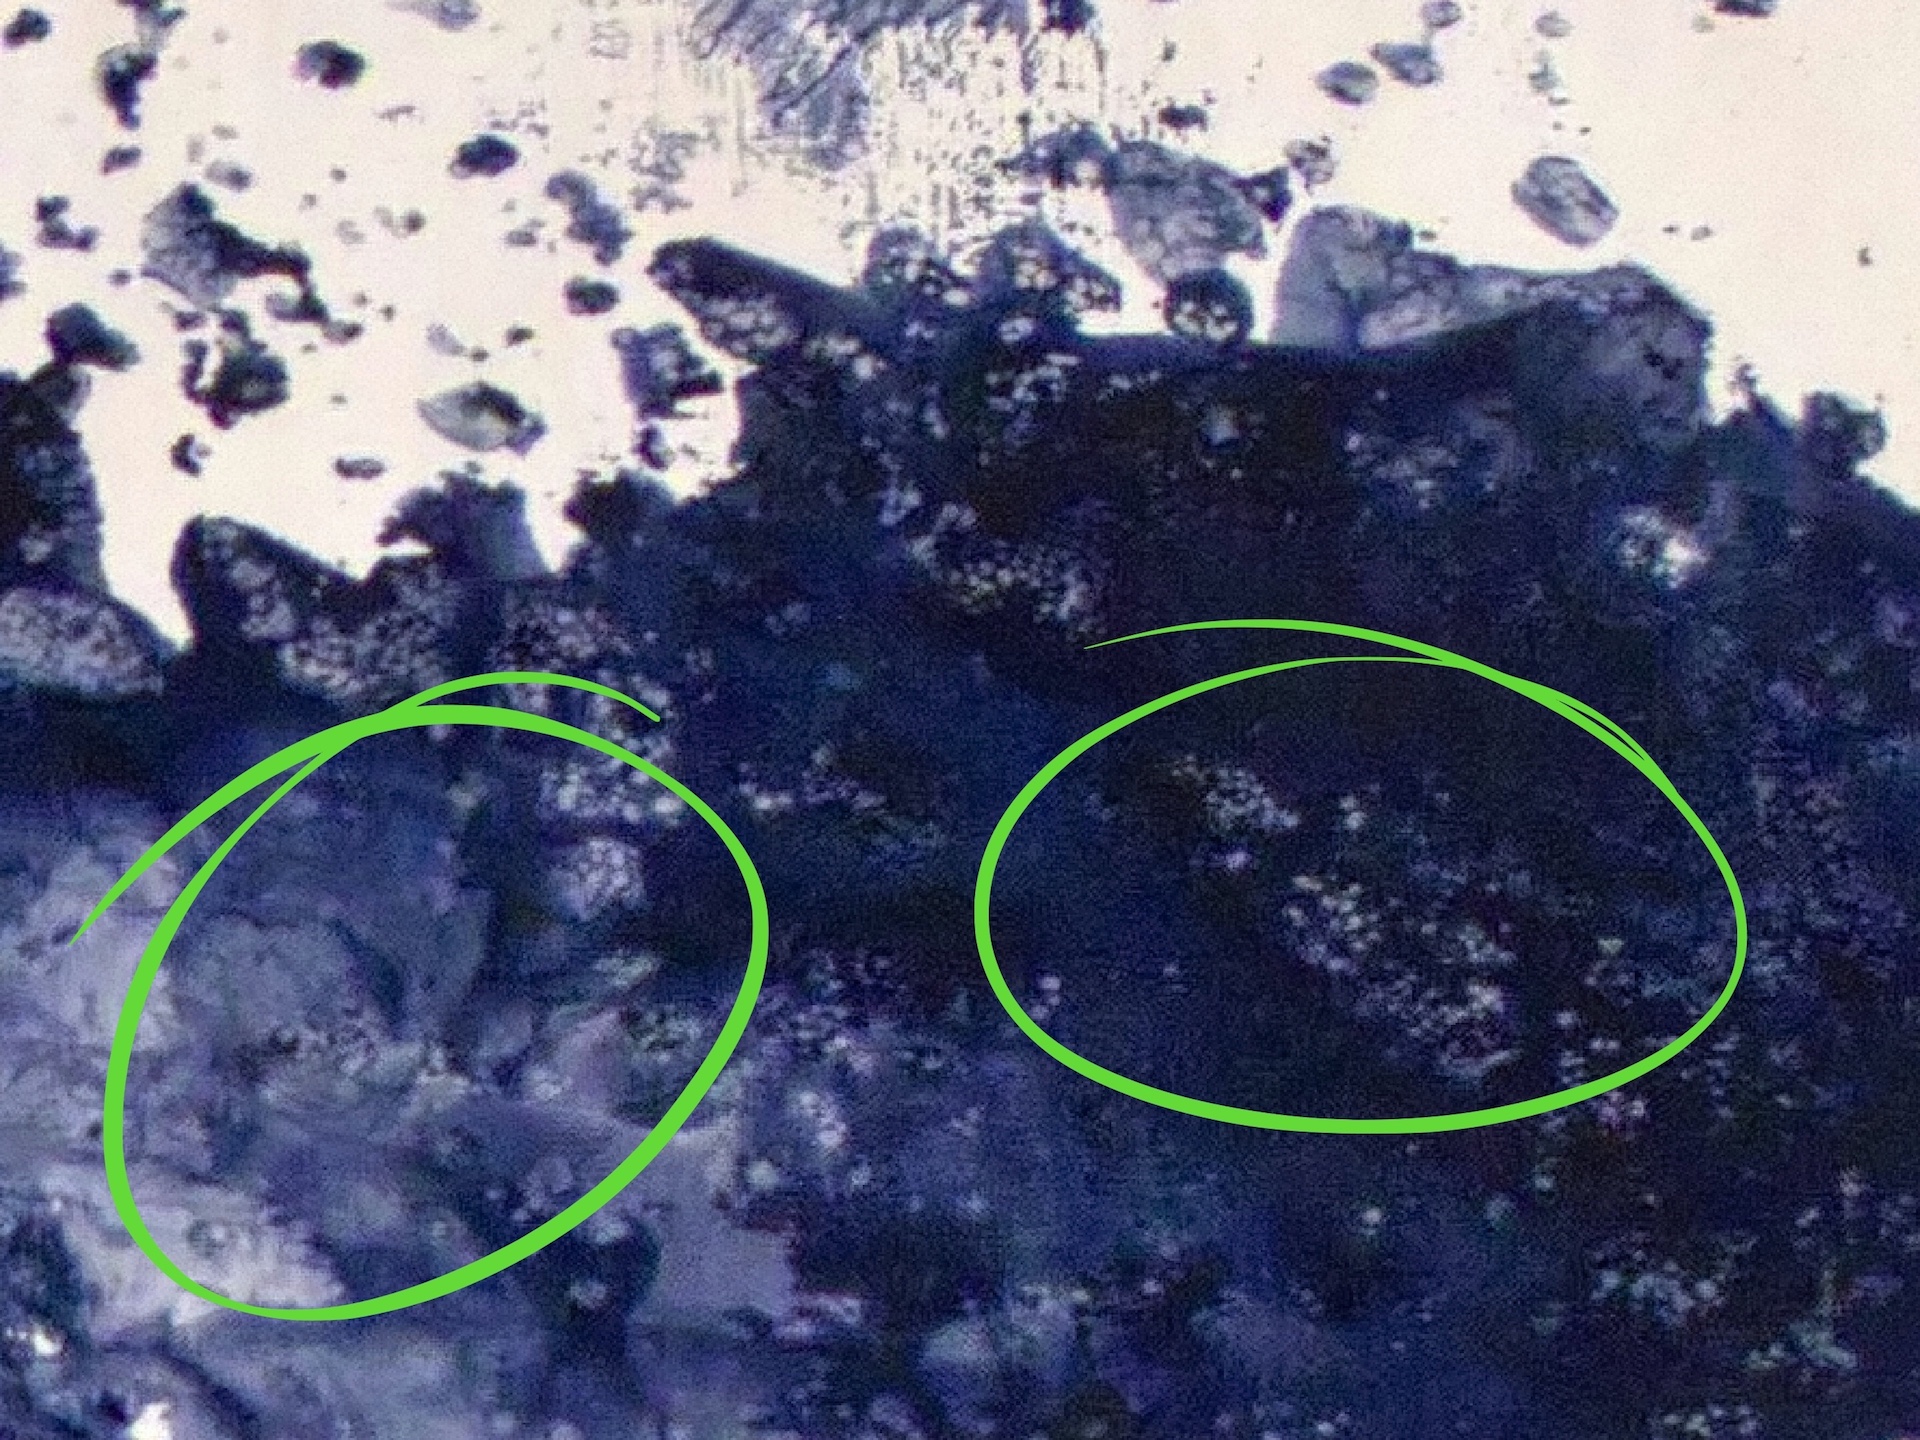
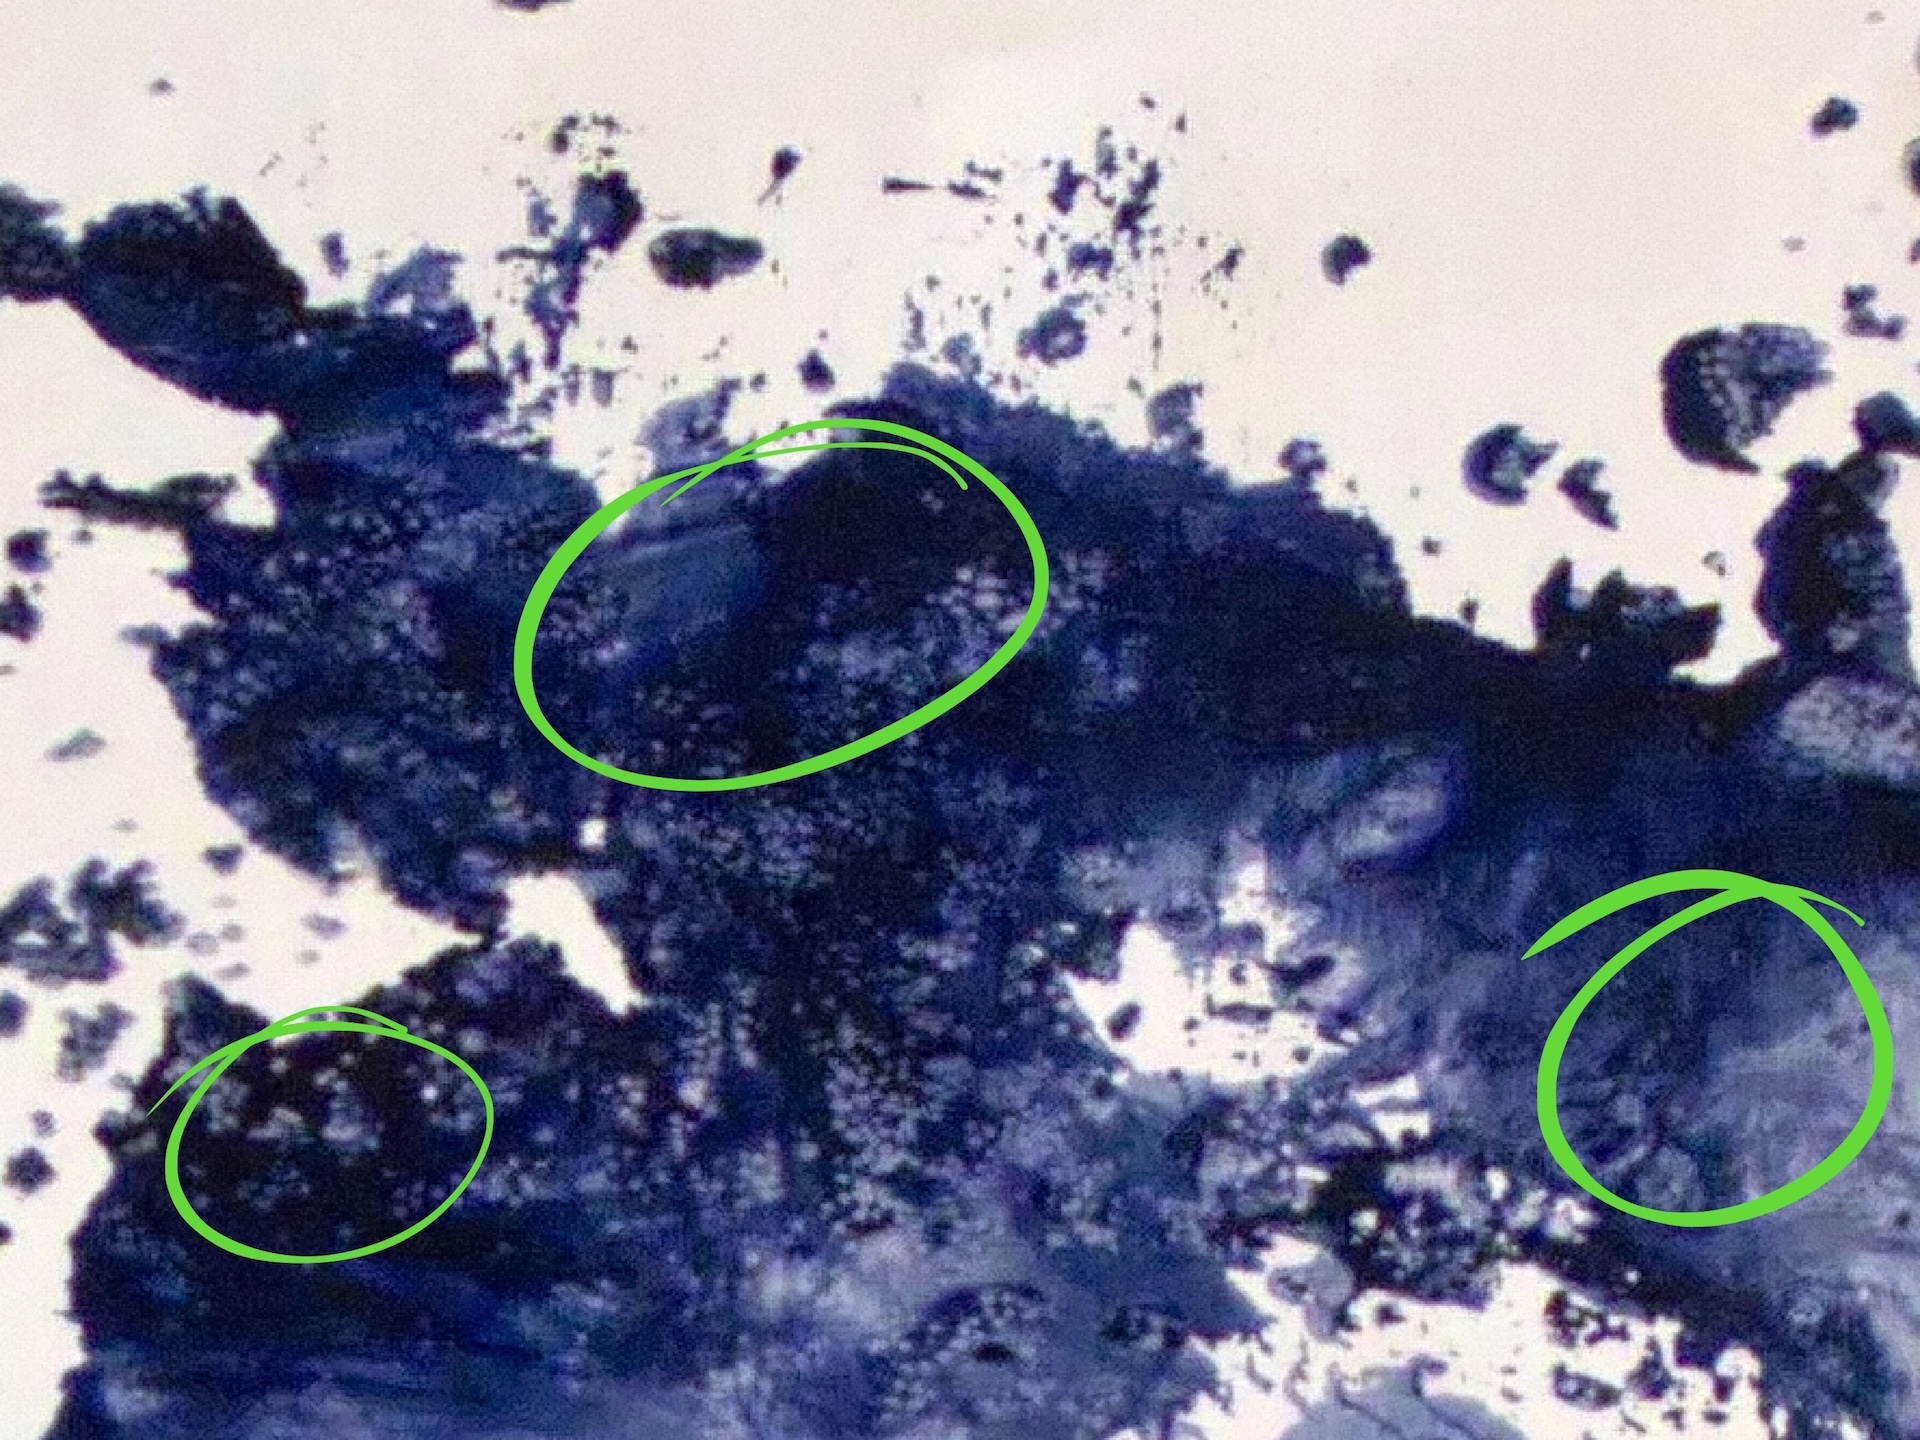
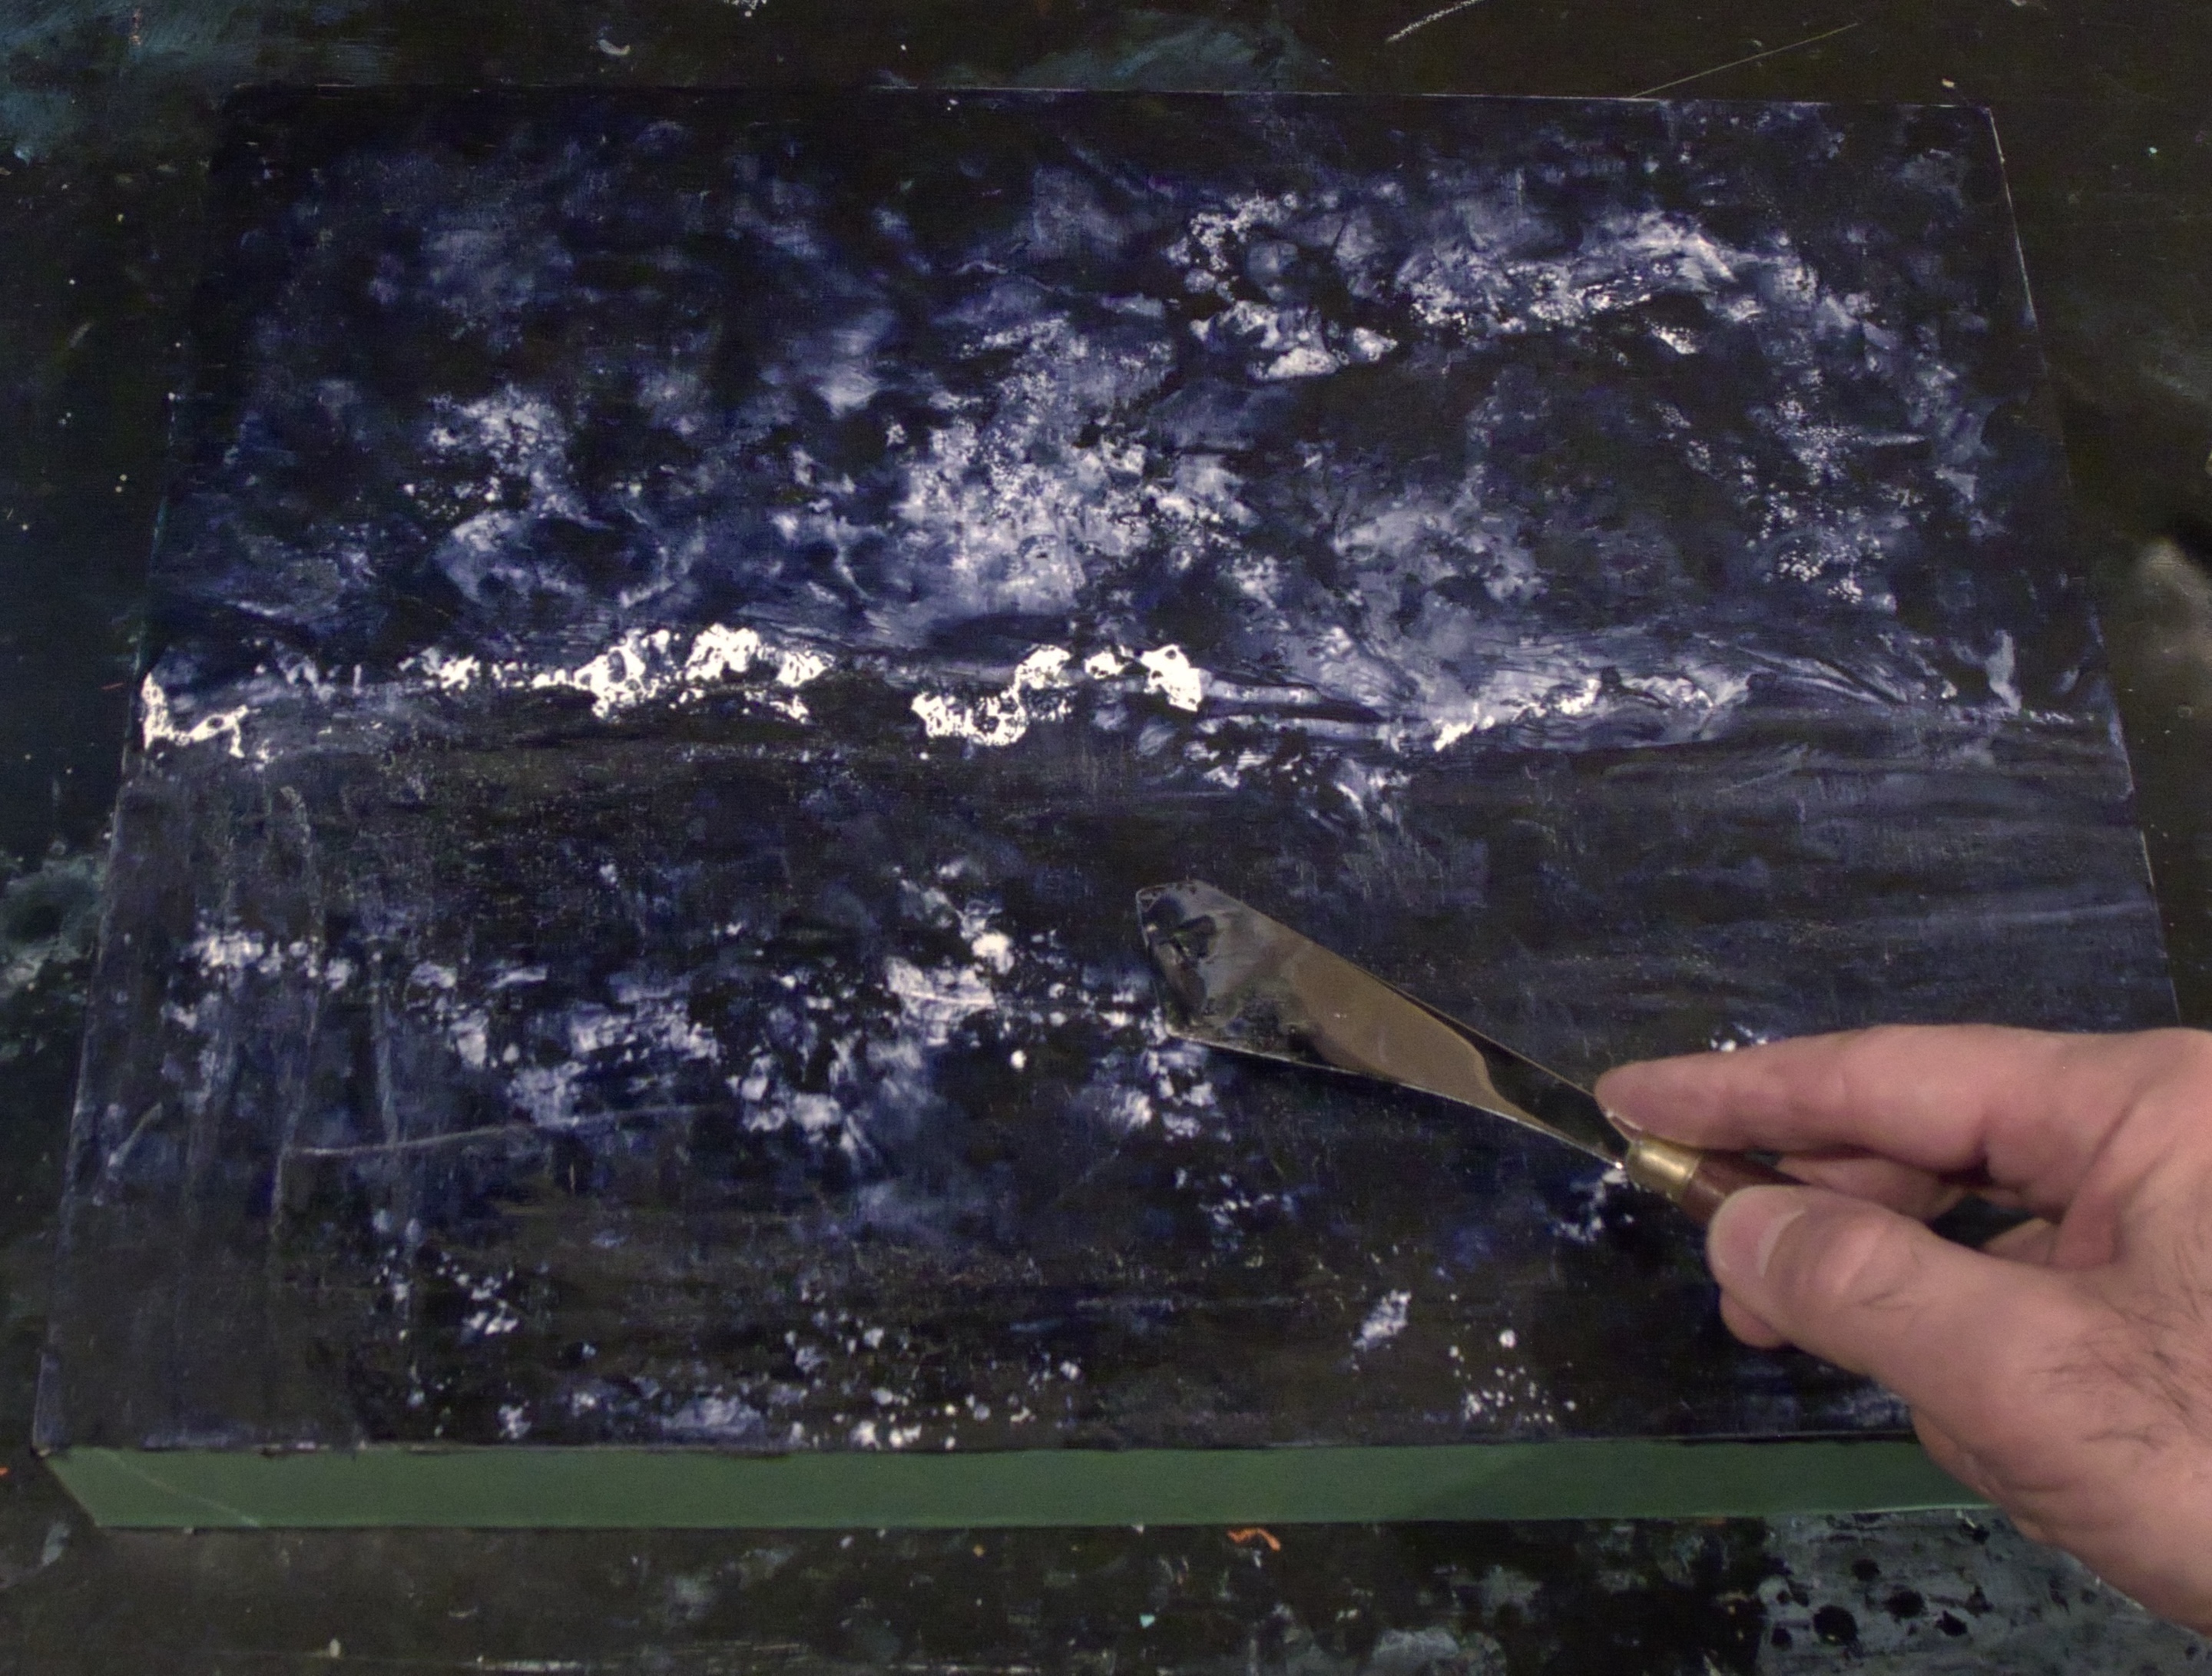
3. I started to block in the water area.
4. Next, I added the moon.
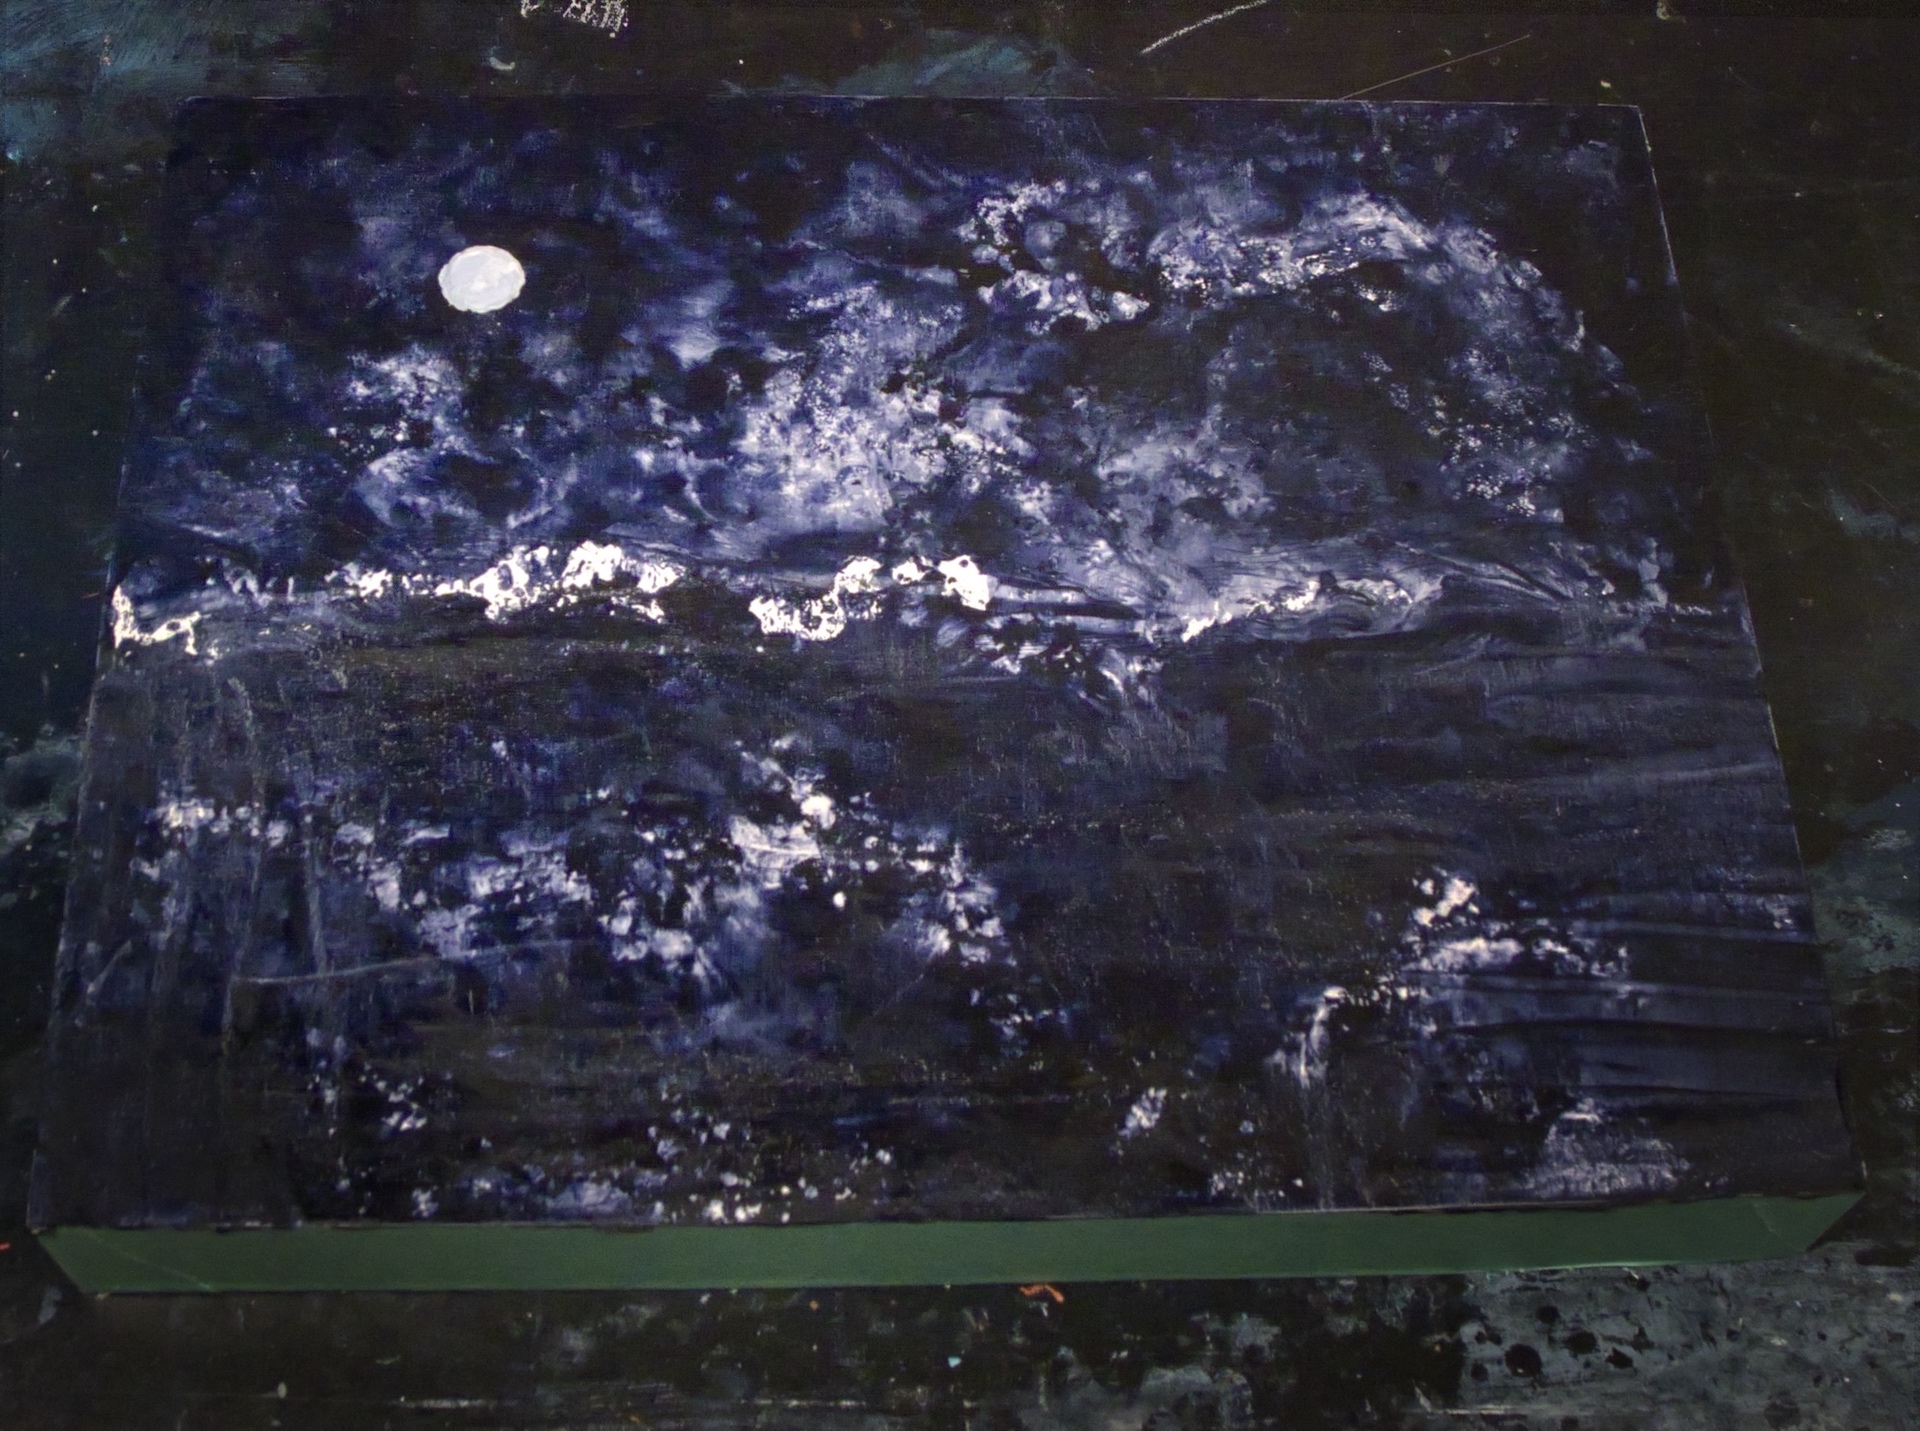
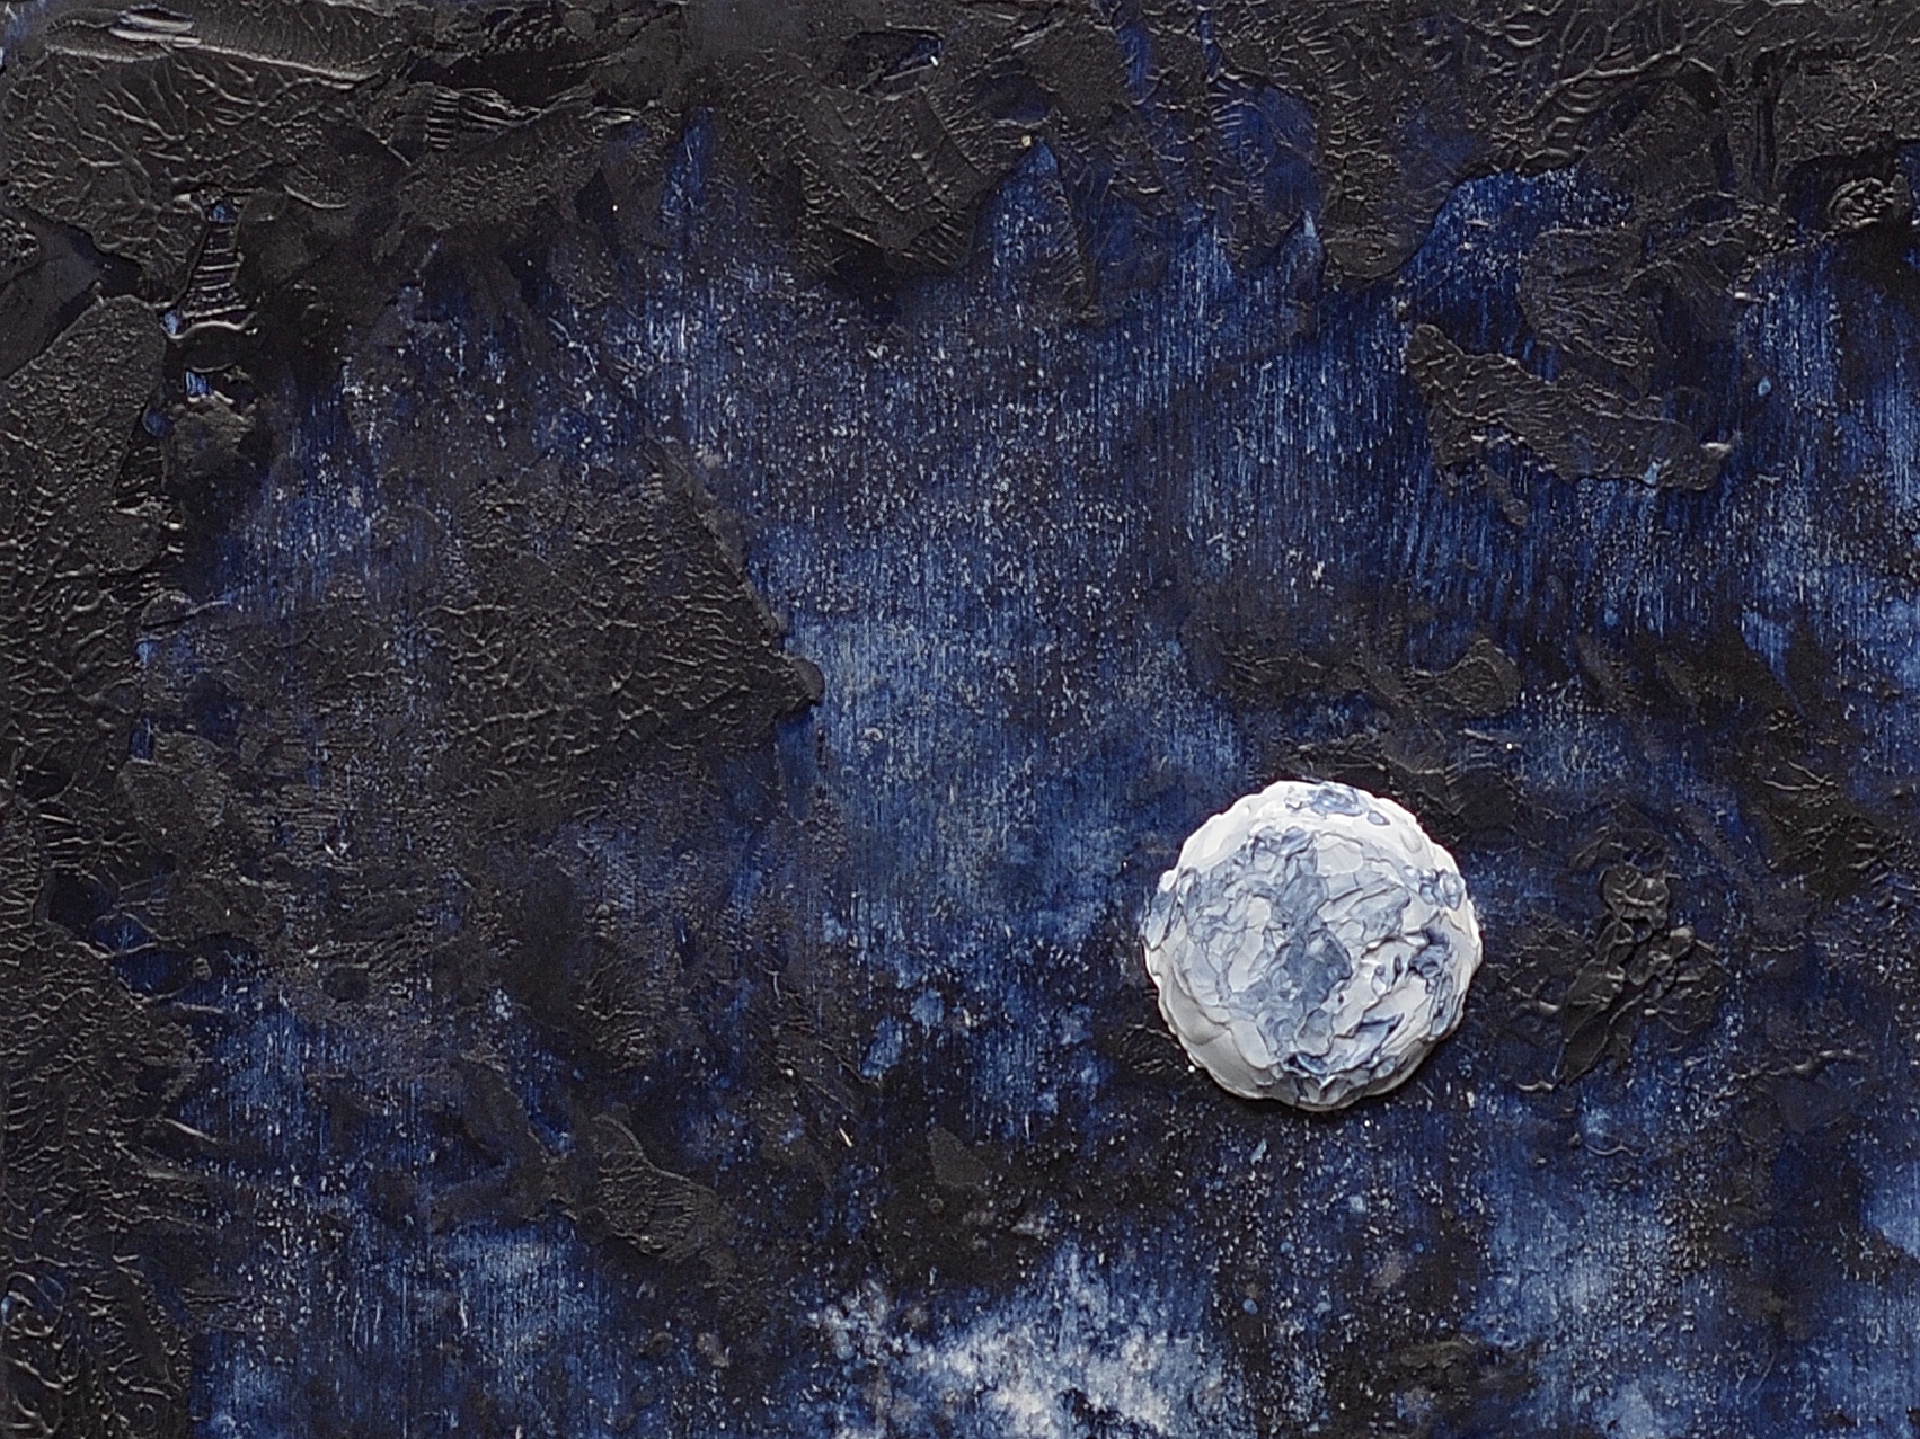
Typically, there is a halo of diffuse light around a full moon which should be painted in. Often in winter, and at times when it’s particularly cold, there is a low level of humidity in the air and the moon can appear without a halo; I painted it this way as a visual cue of a cold evening. I used quite a bit of paint to render the moon so that it’s raised above the surface of the starry sky and stands out. Note all of the textures in the moon and in the sky area:
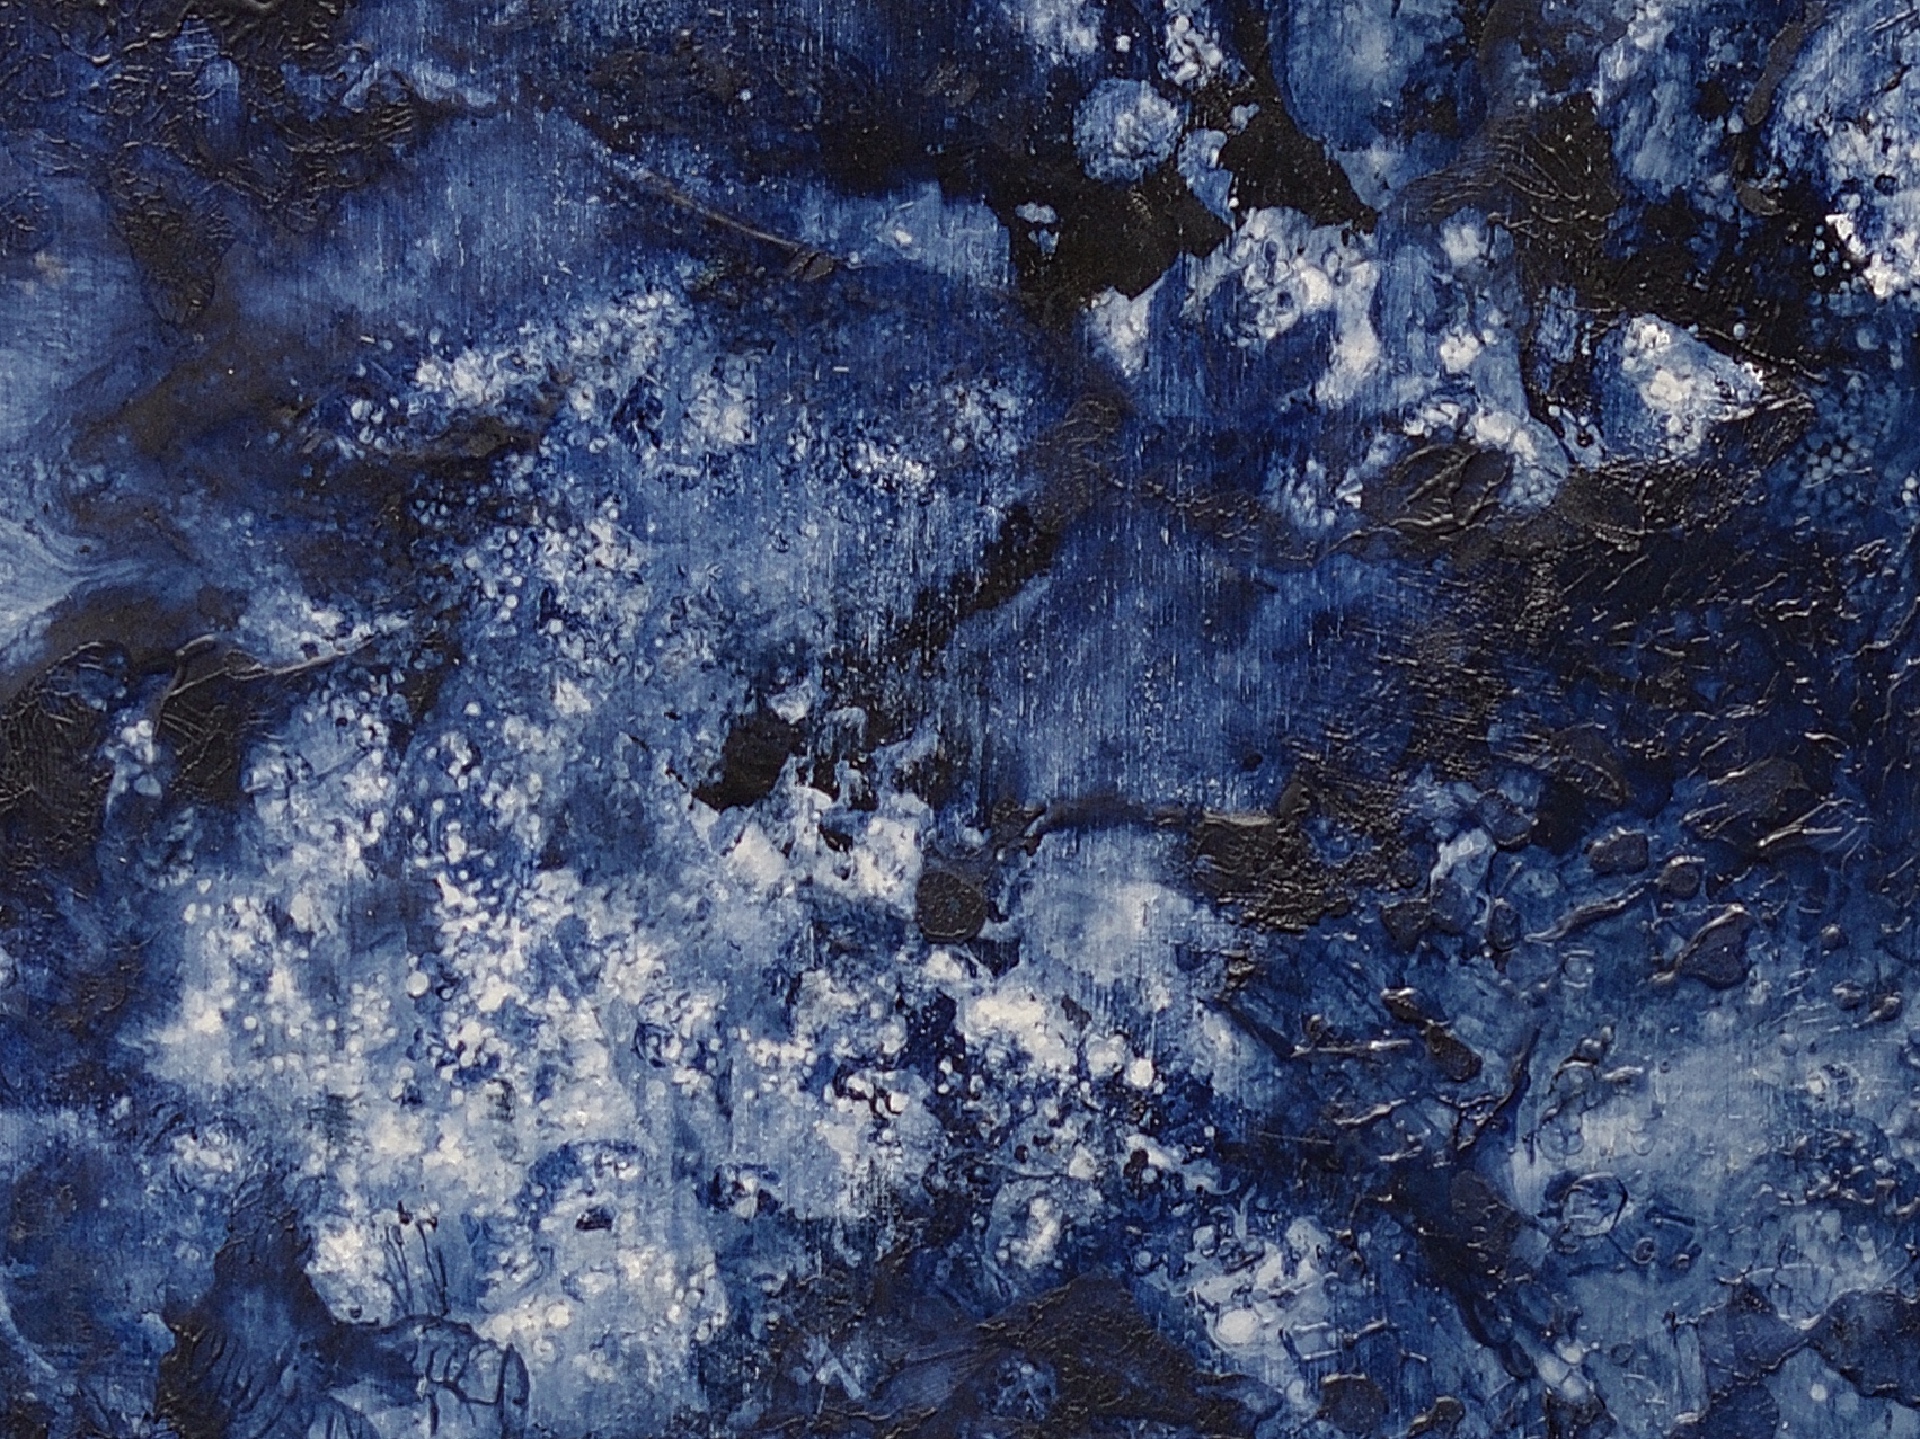
5. Painting in the lower sky area and laying down a layer of black to start shaping the point of land…
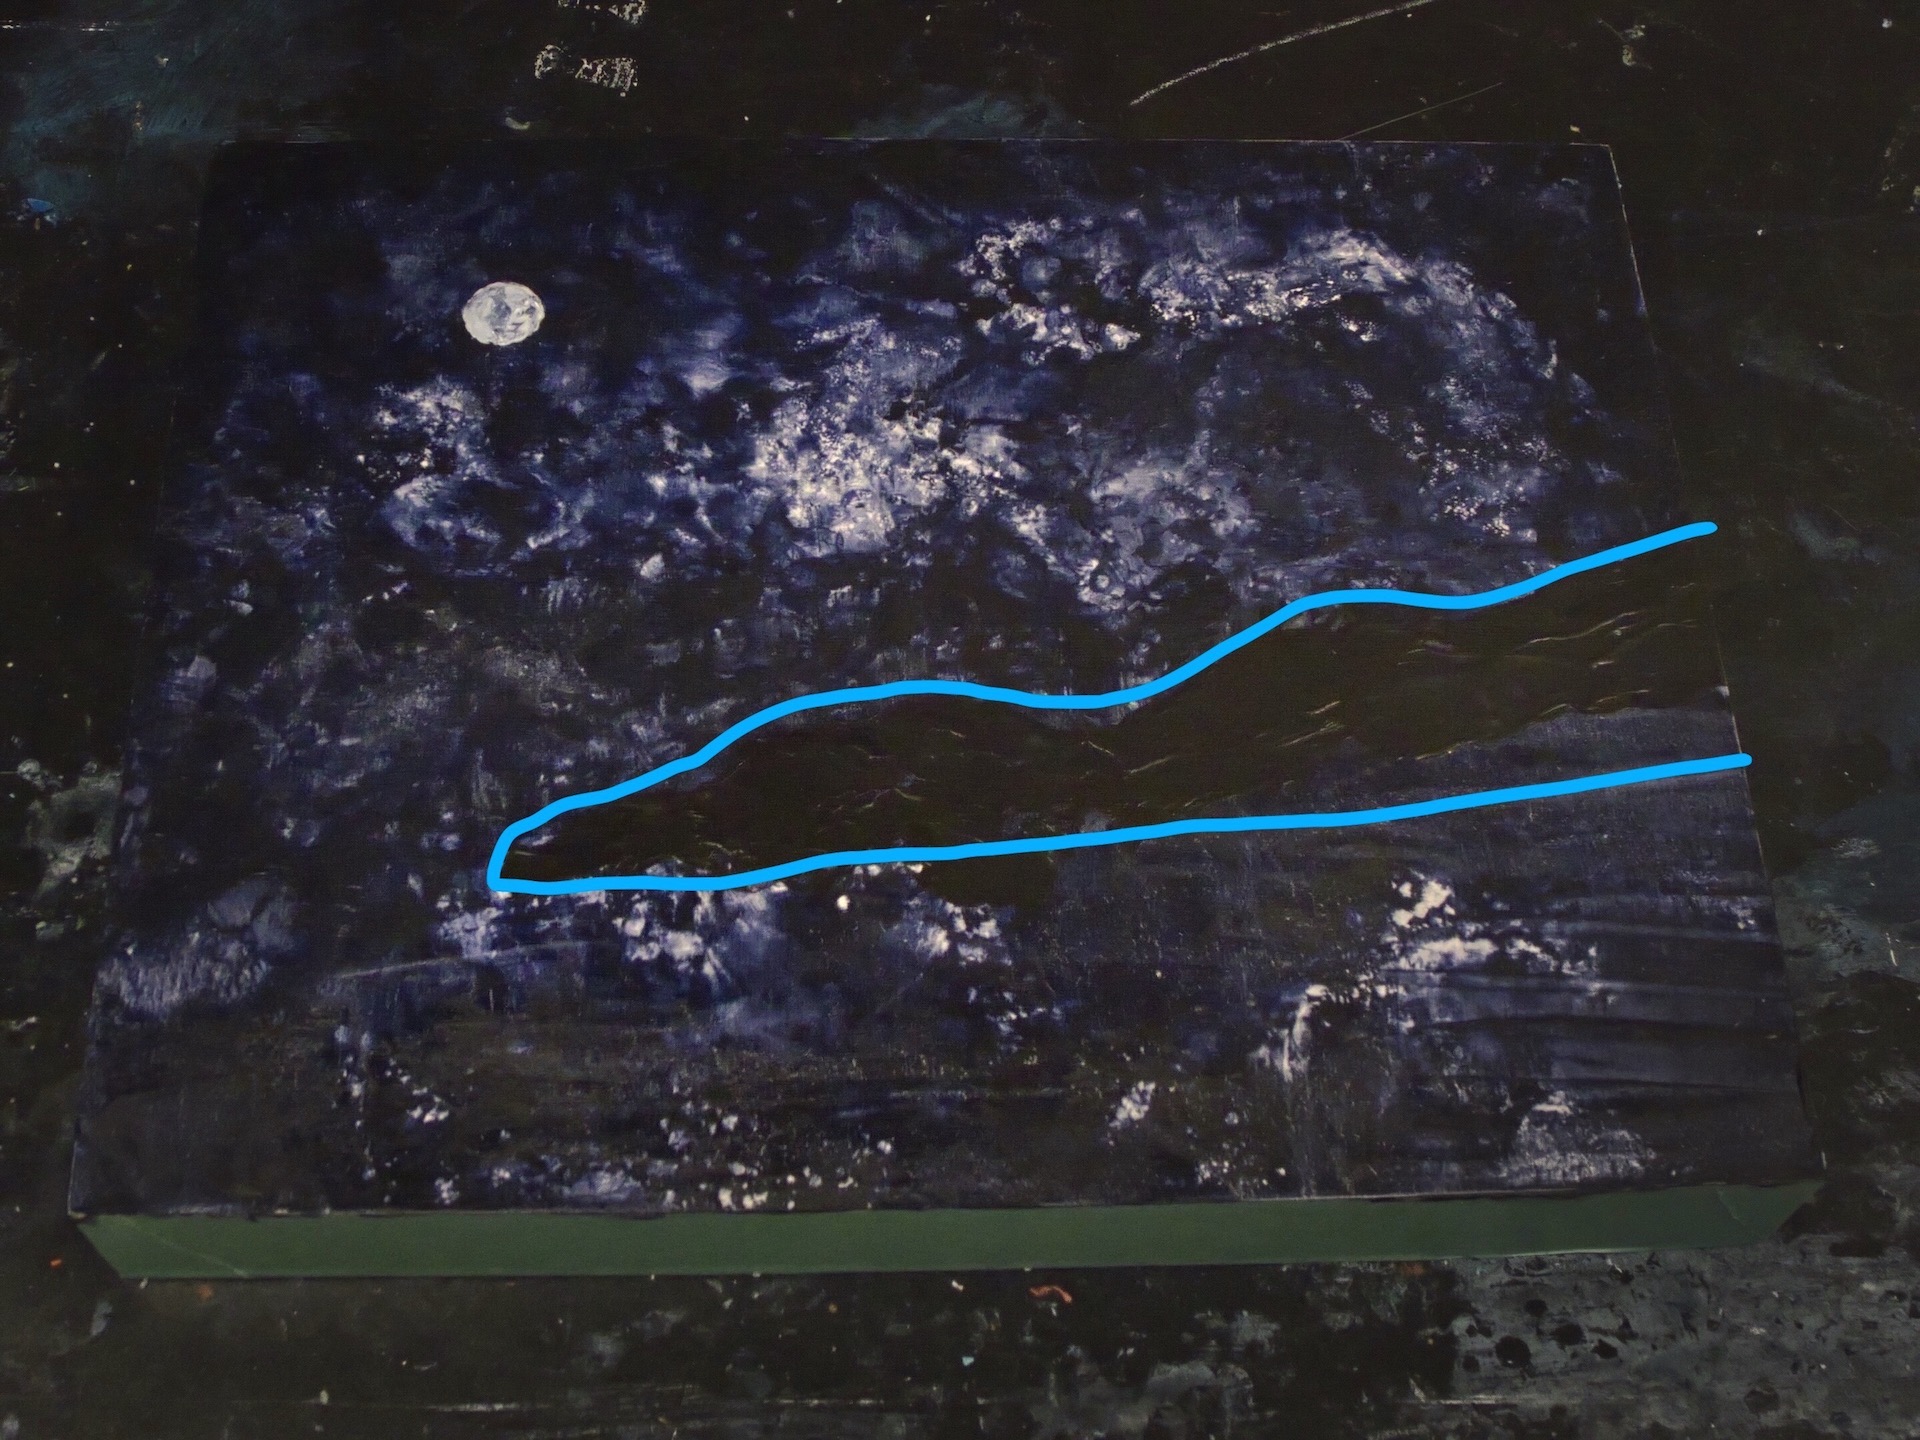
6. I then began to work on the water area and defining the land mass.
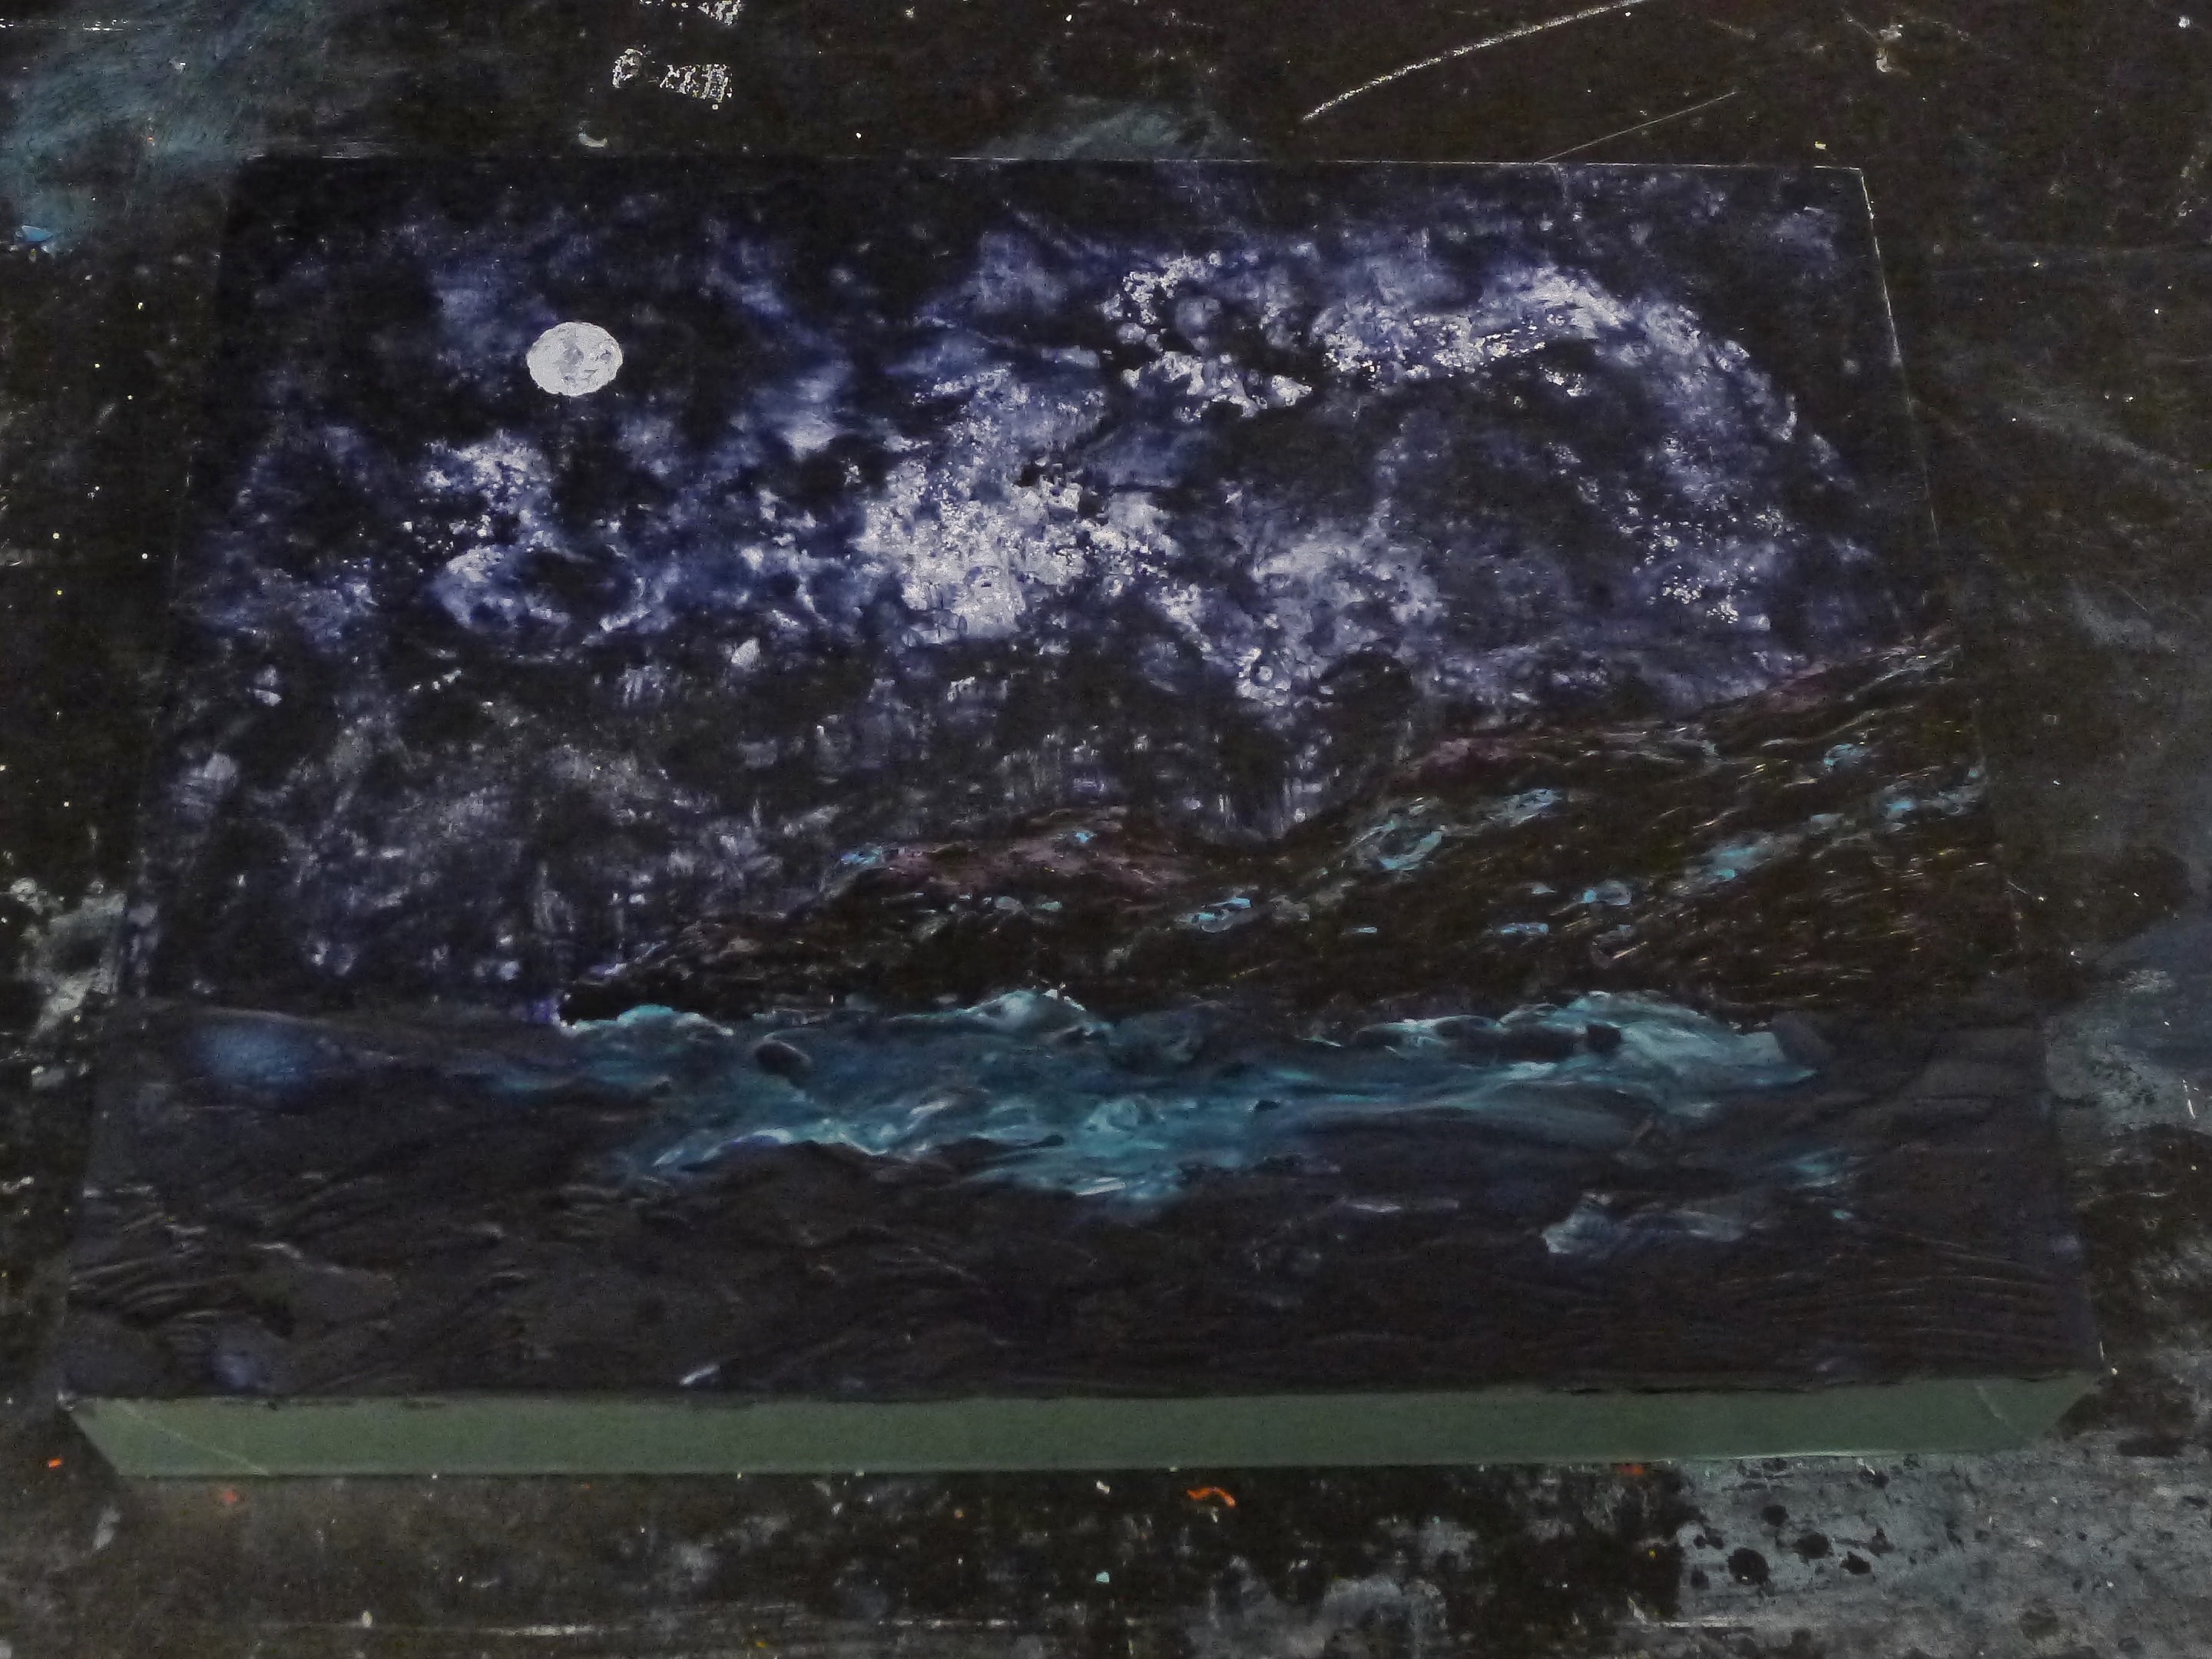
7. Adding some definition to the land mass with snow covered areas…
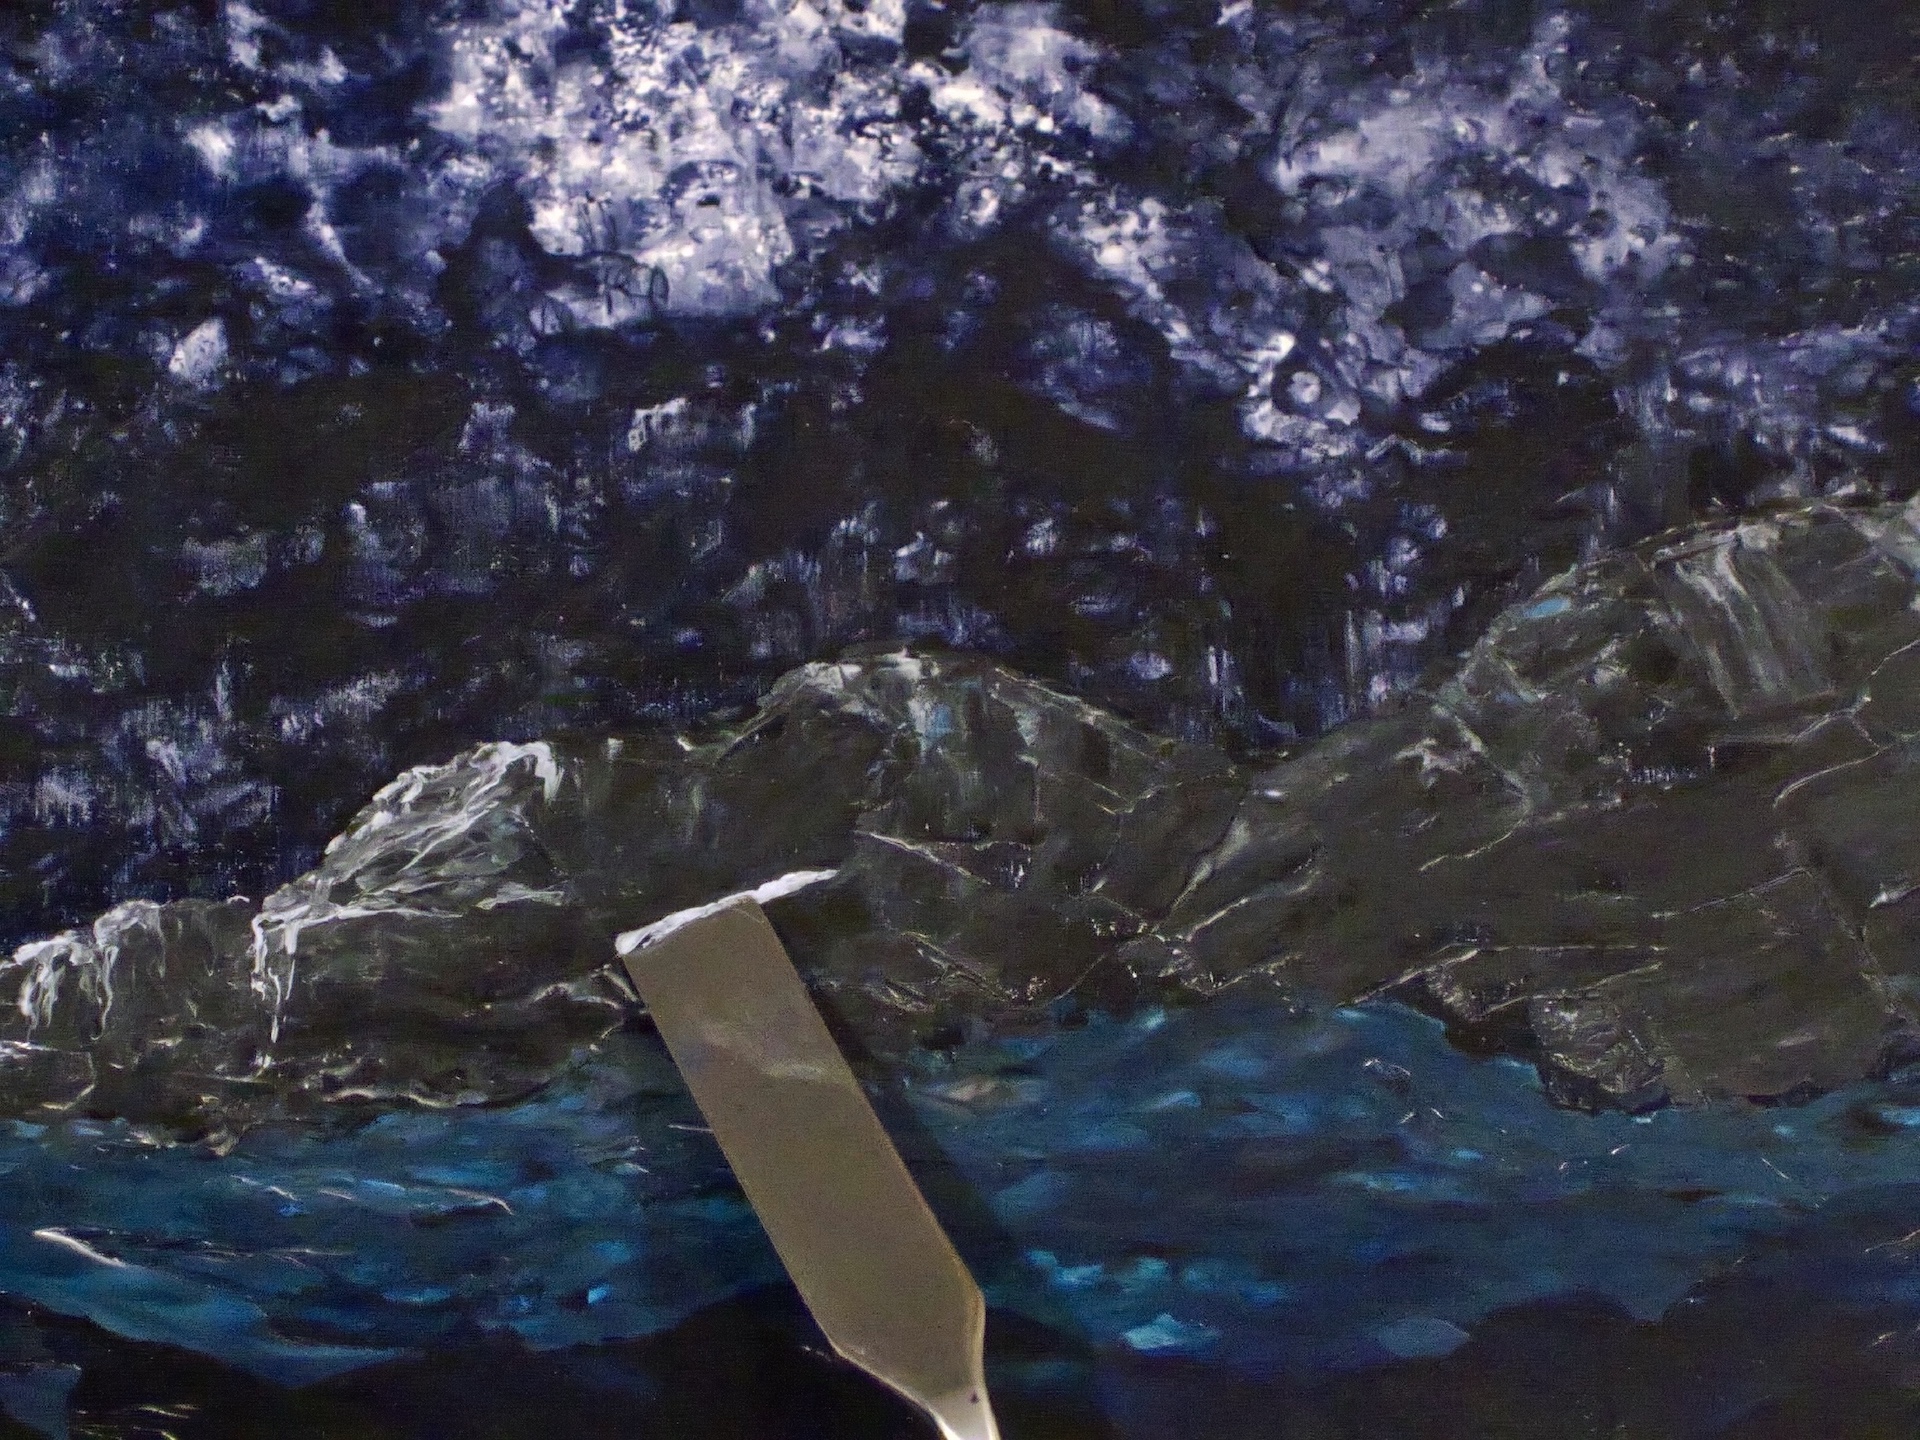
8. Time to work a little more on the water/waves.
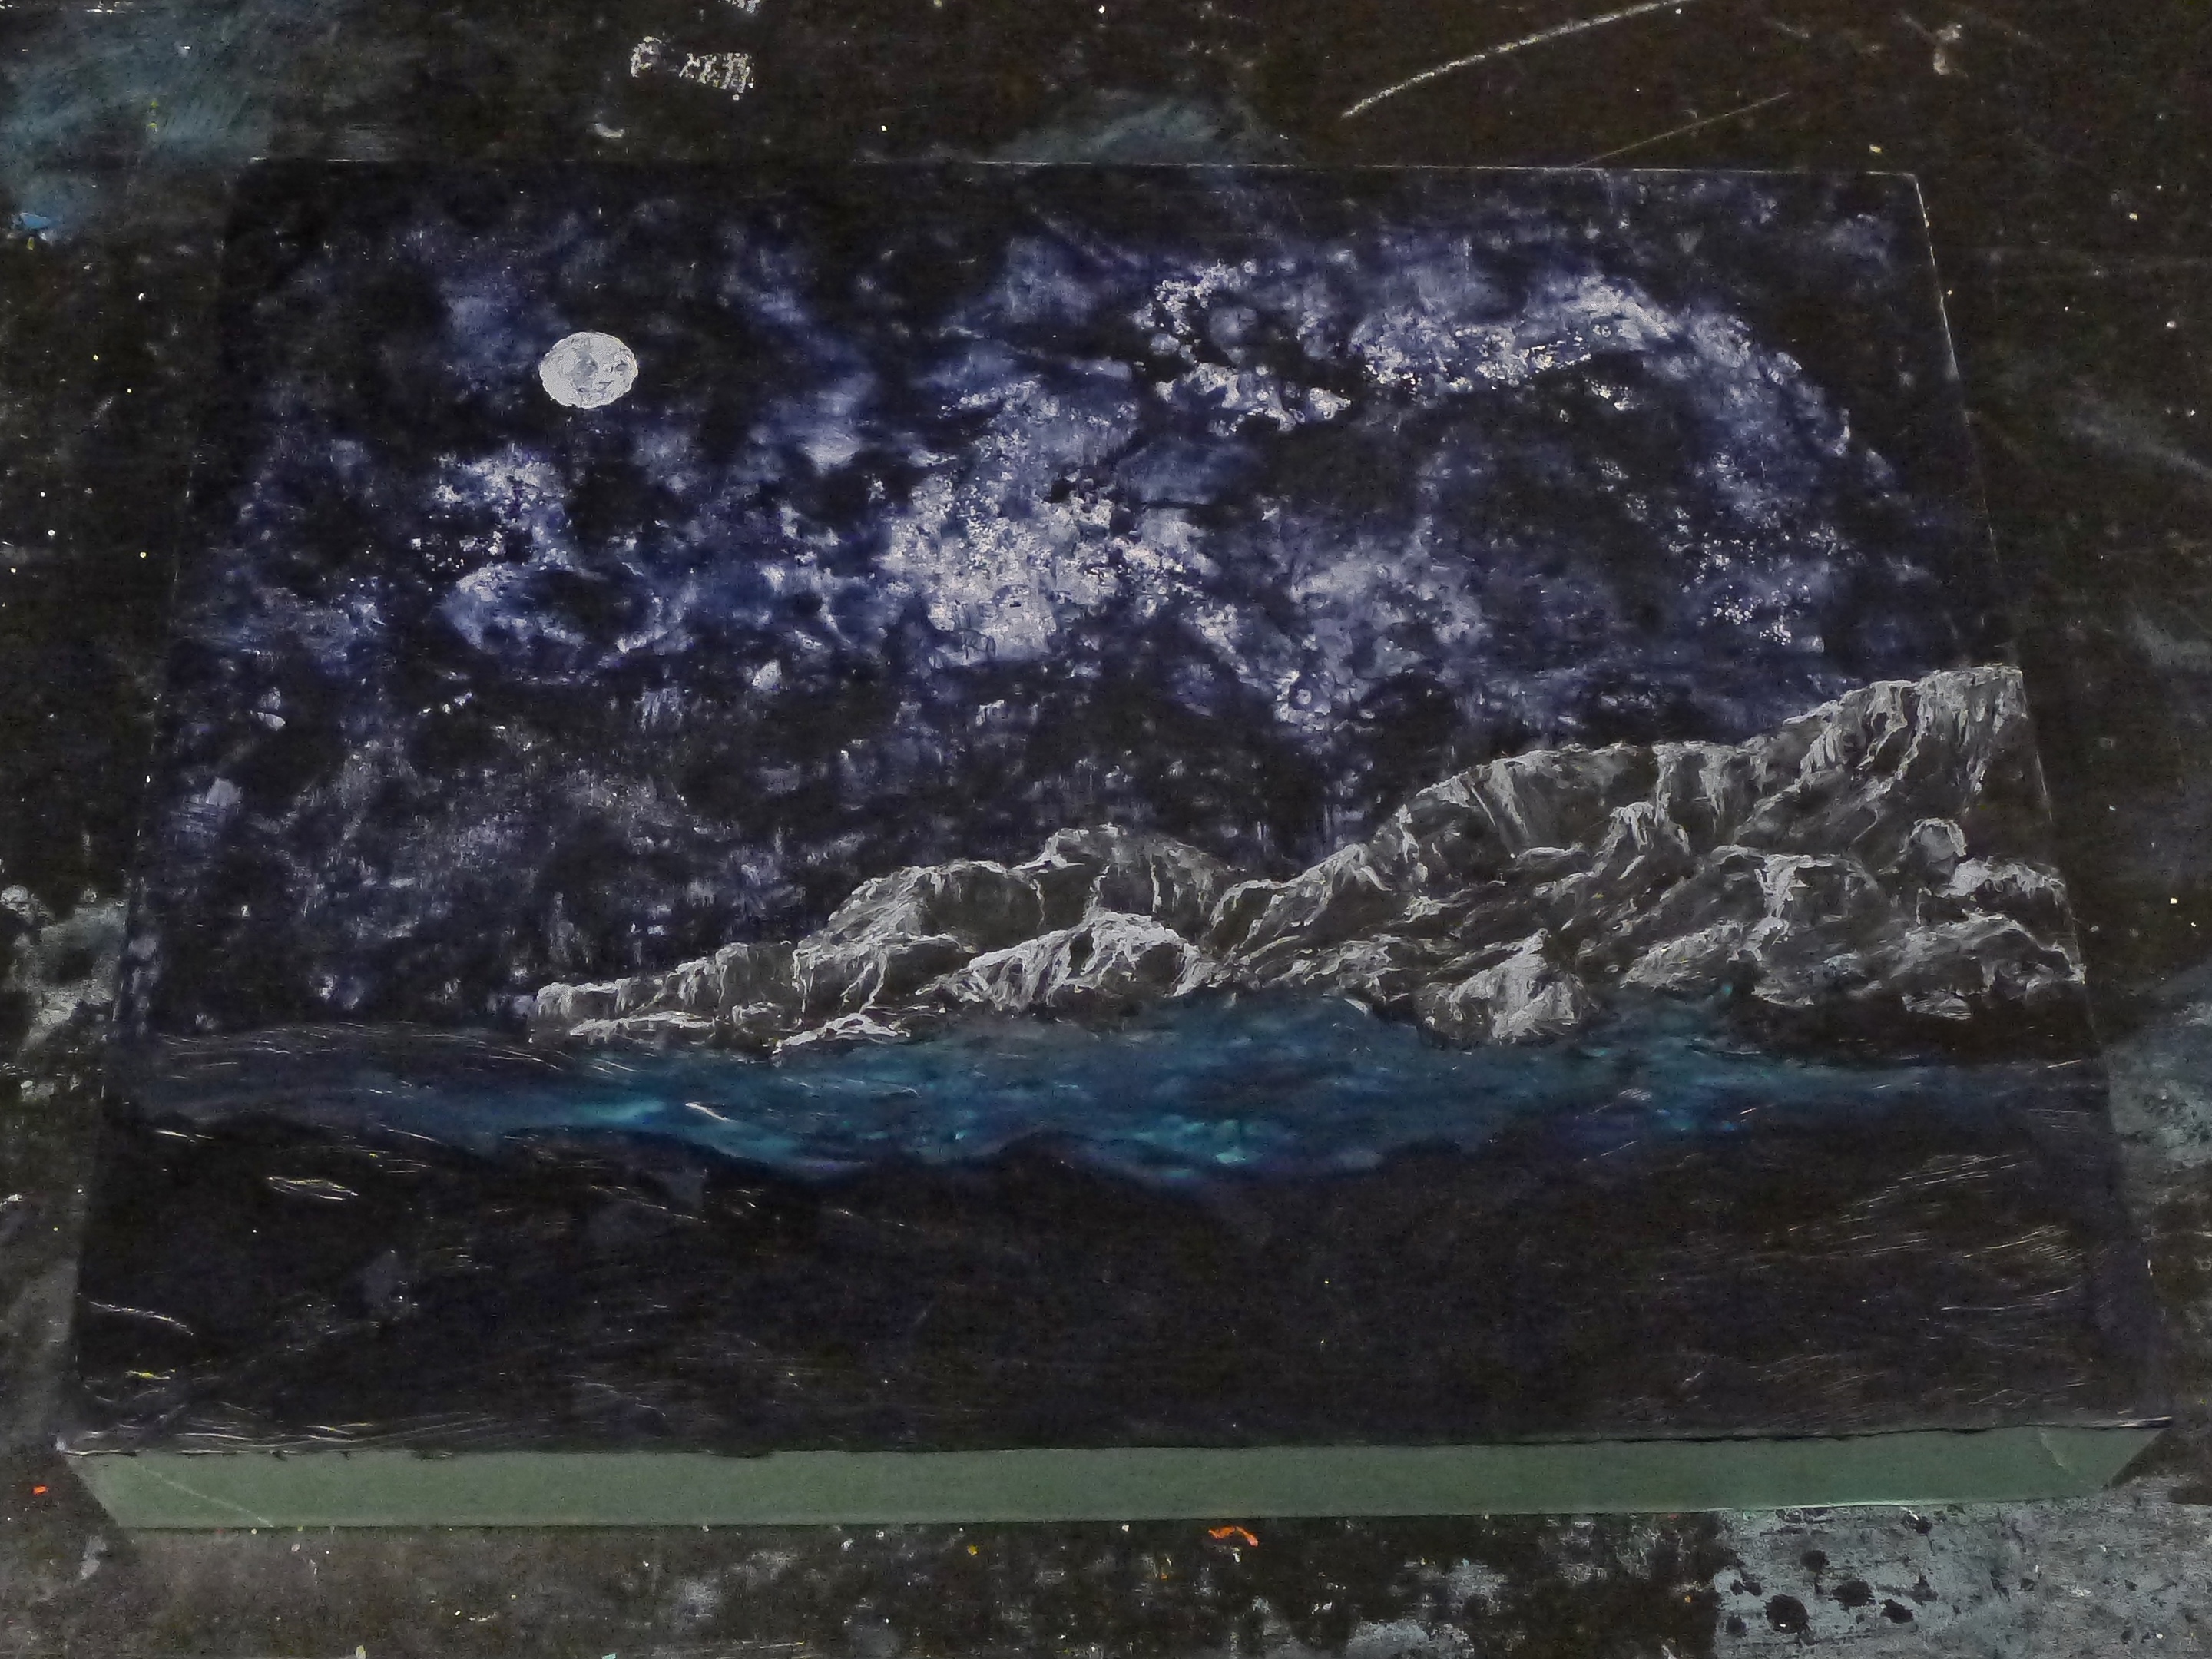
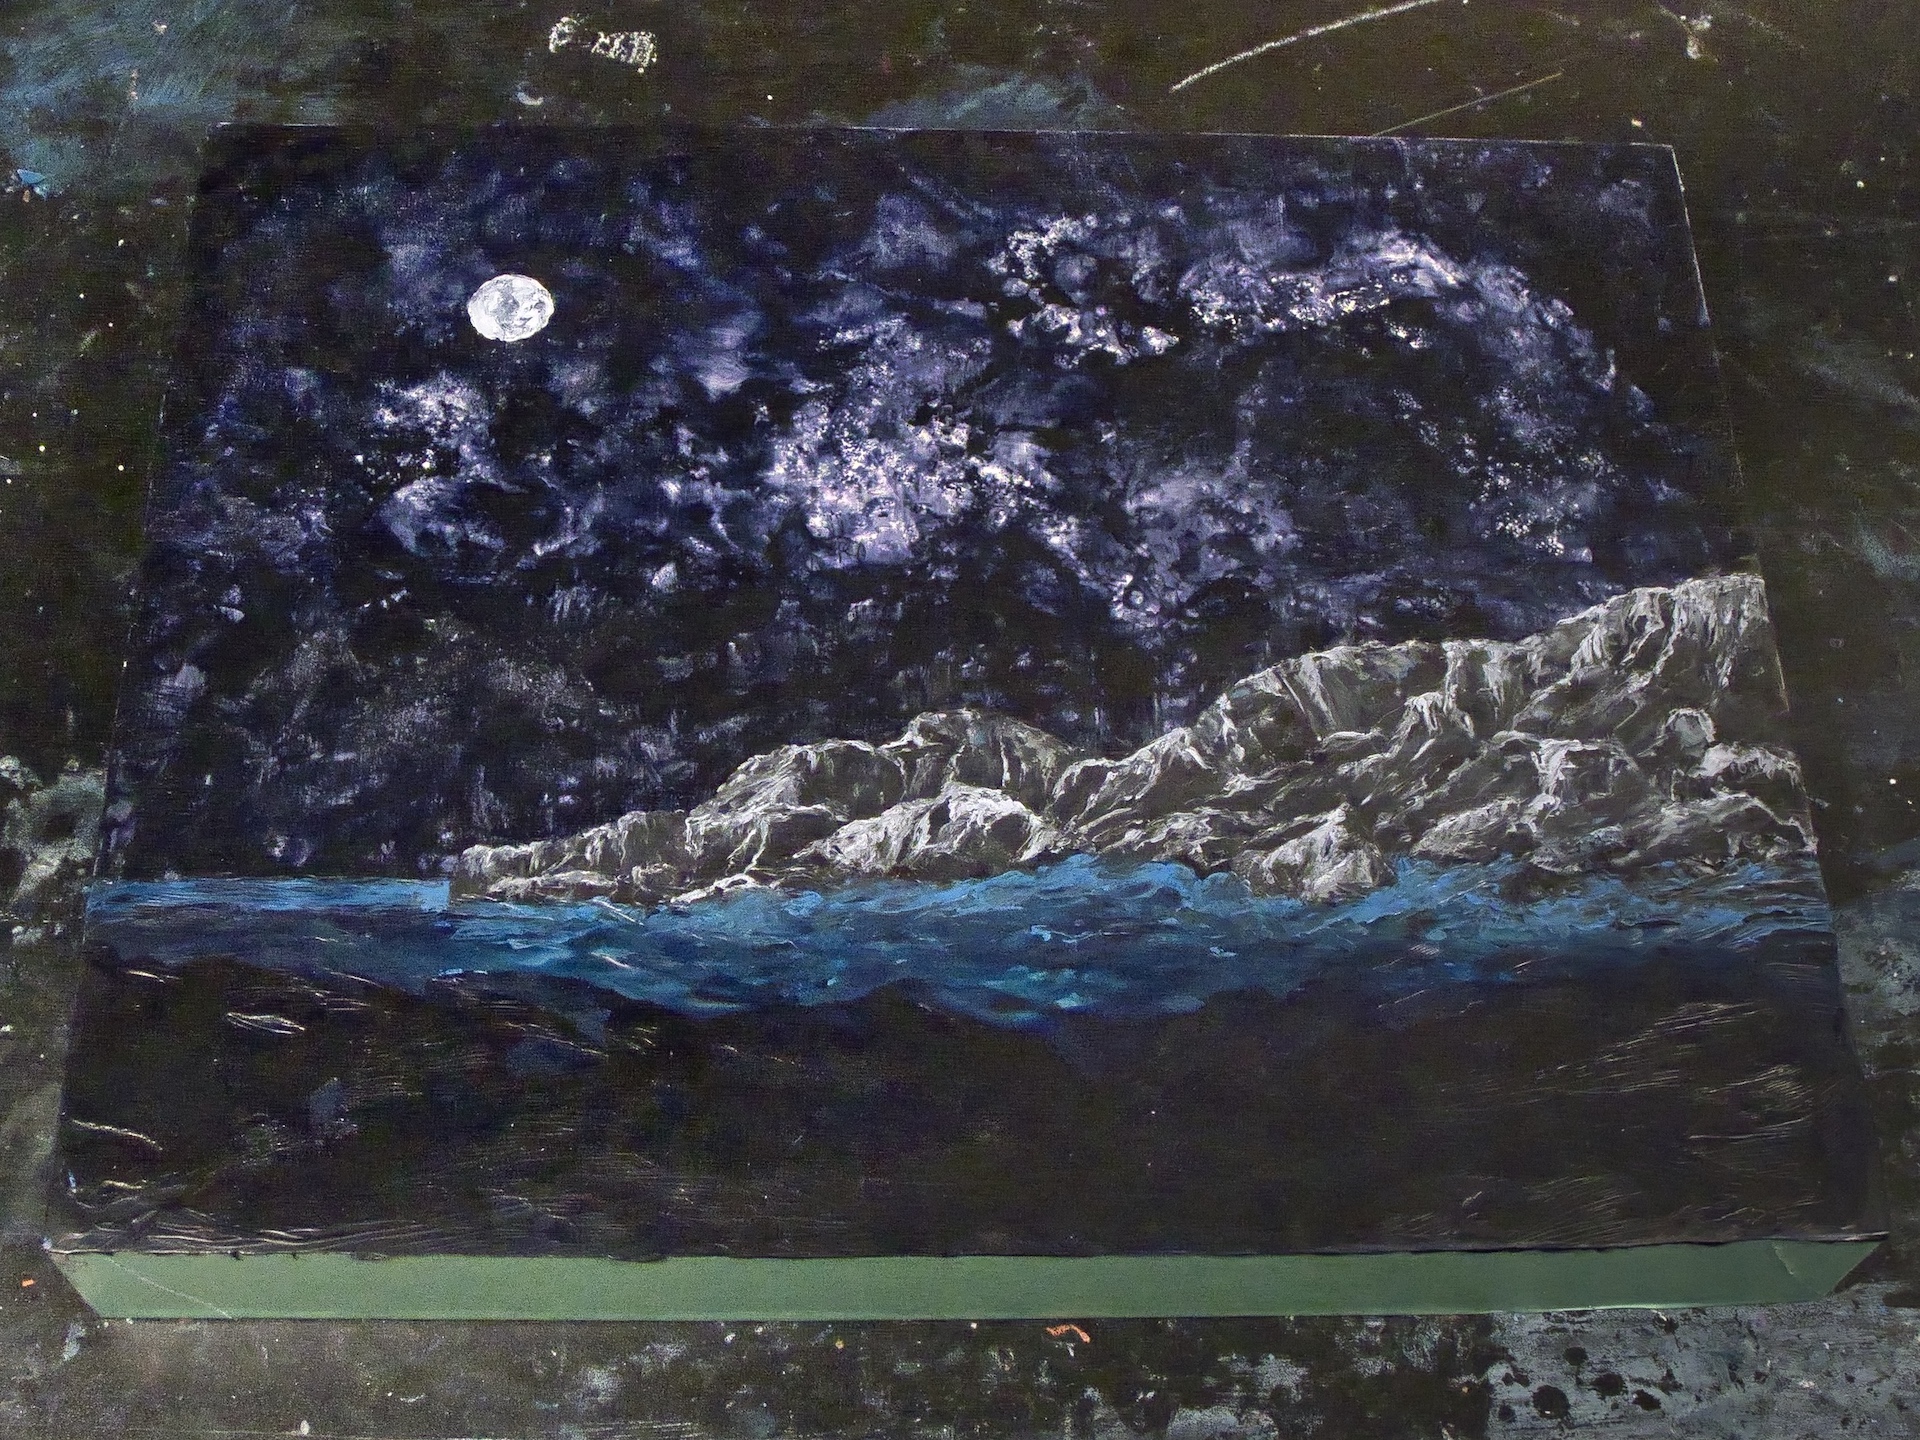
I also decided to tone down and develop the snowy areas a bit to make them less harsh and more defined.
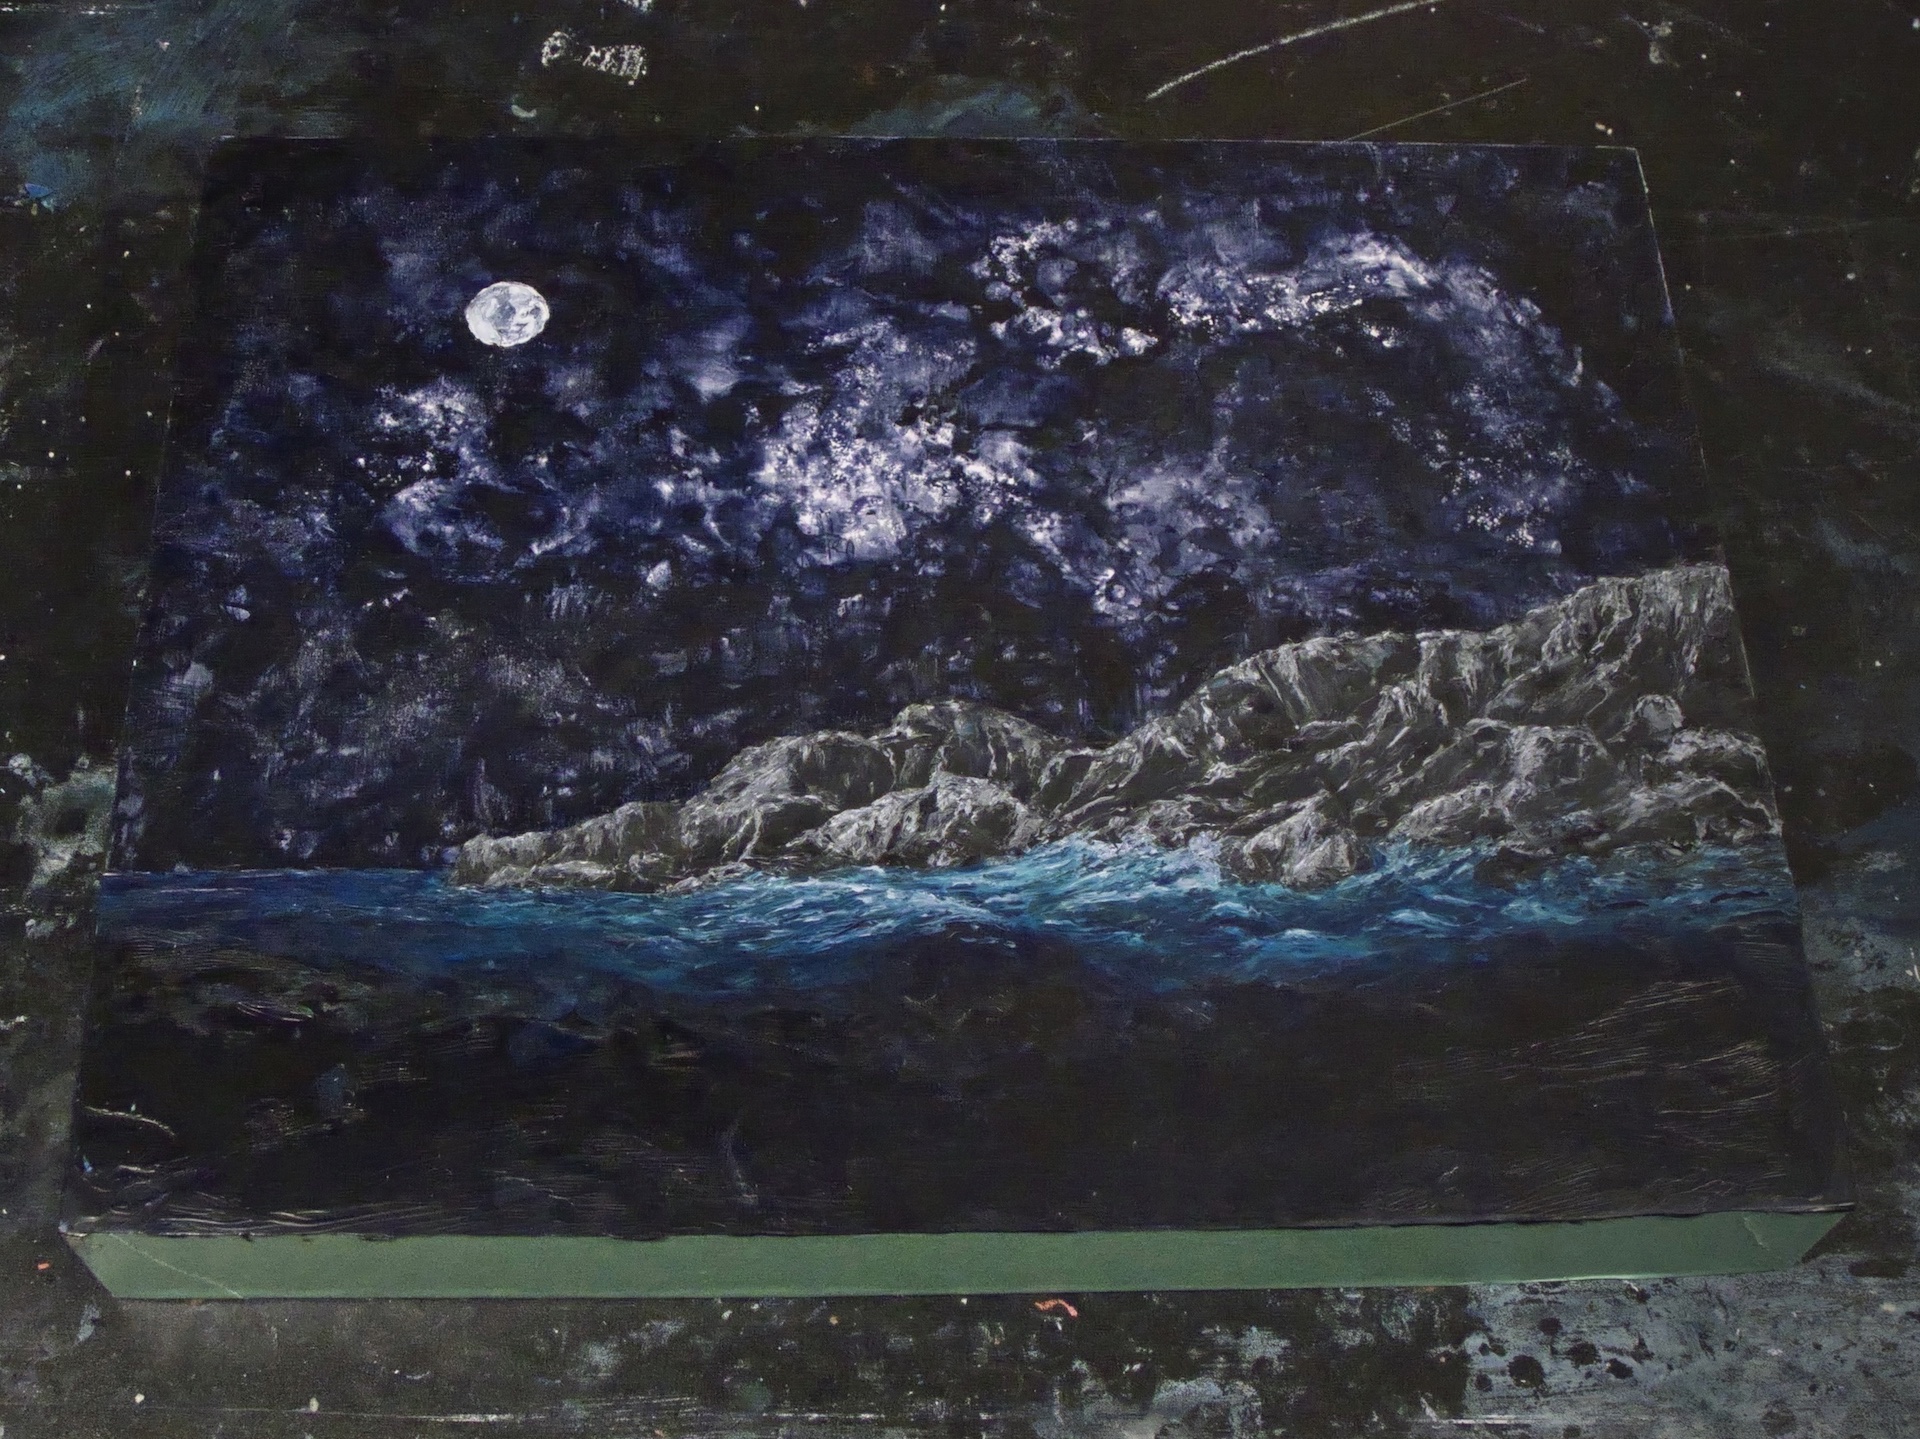
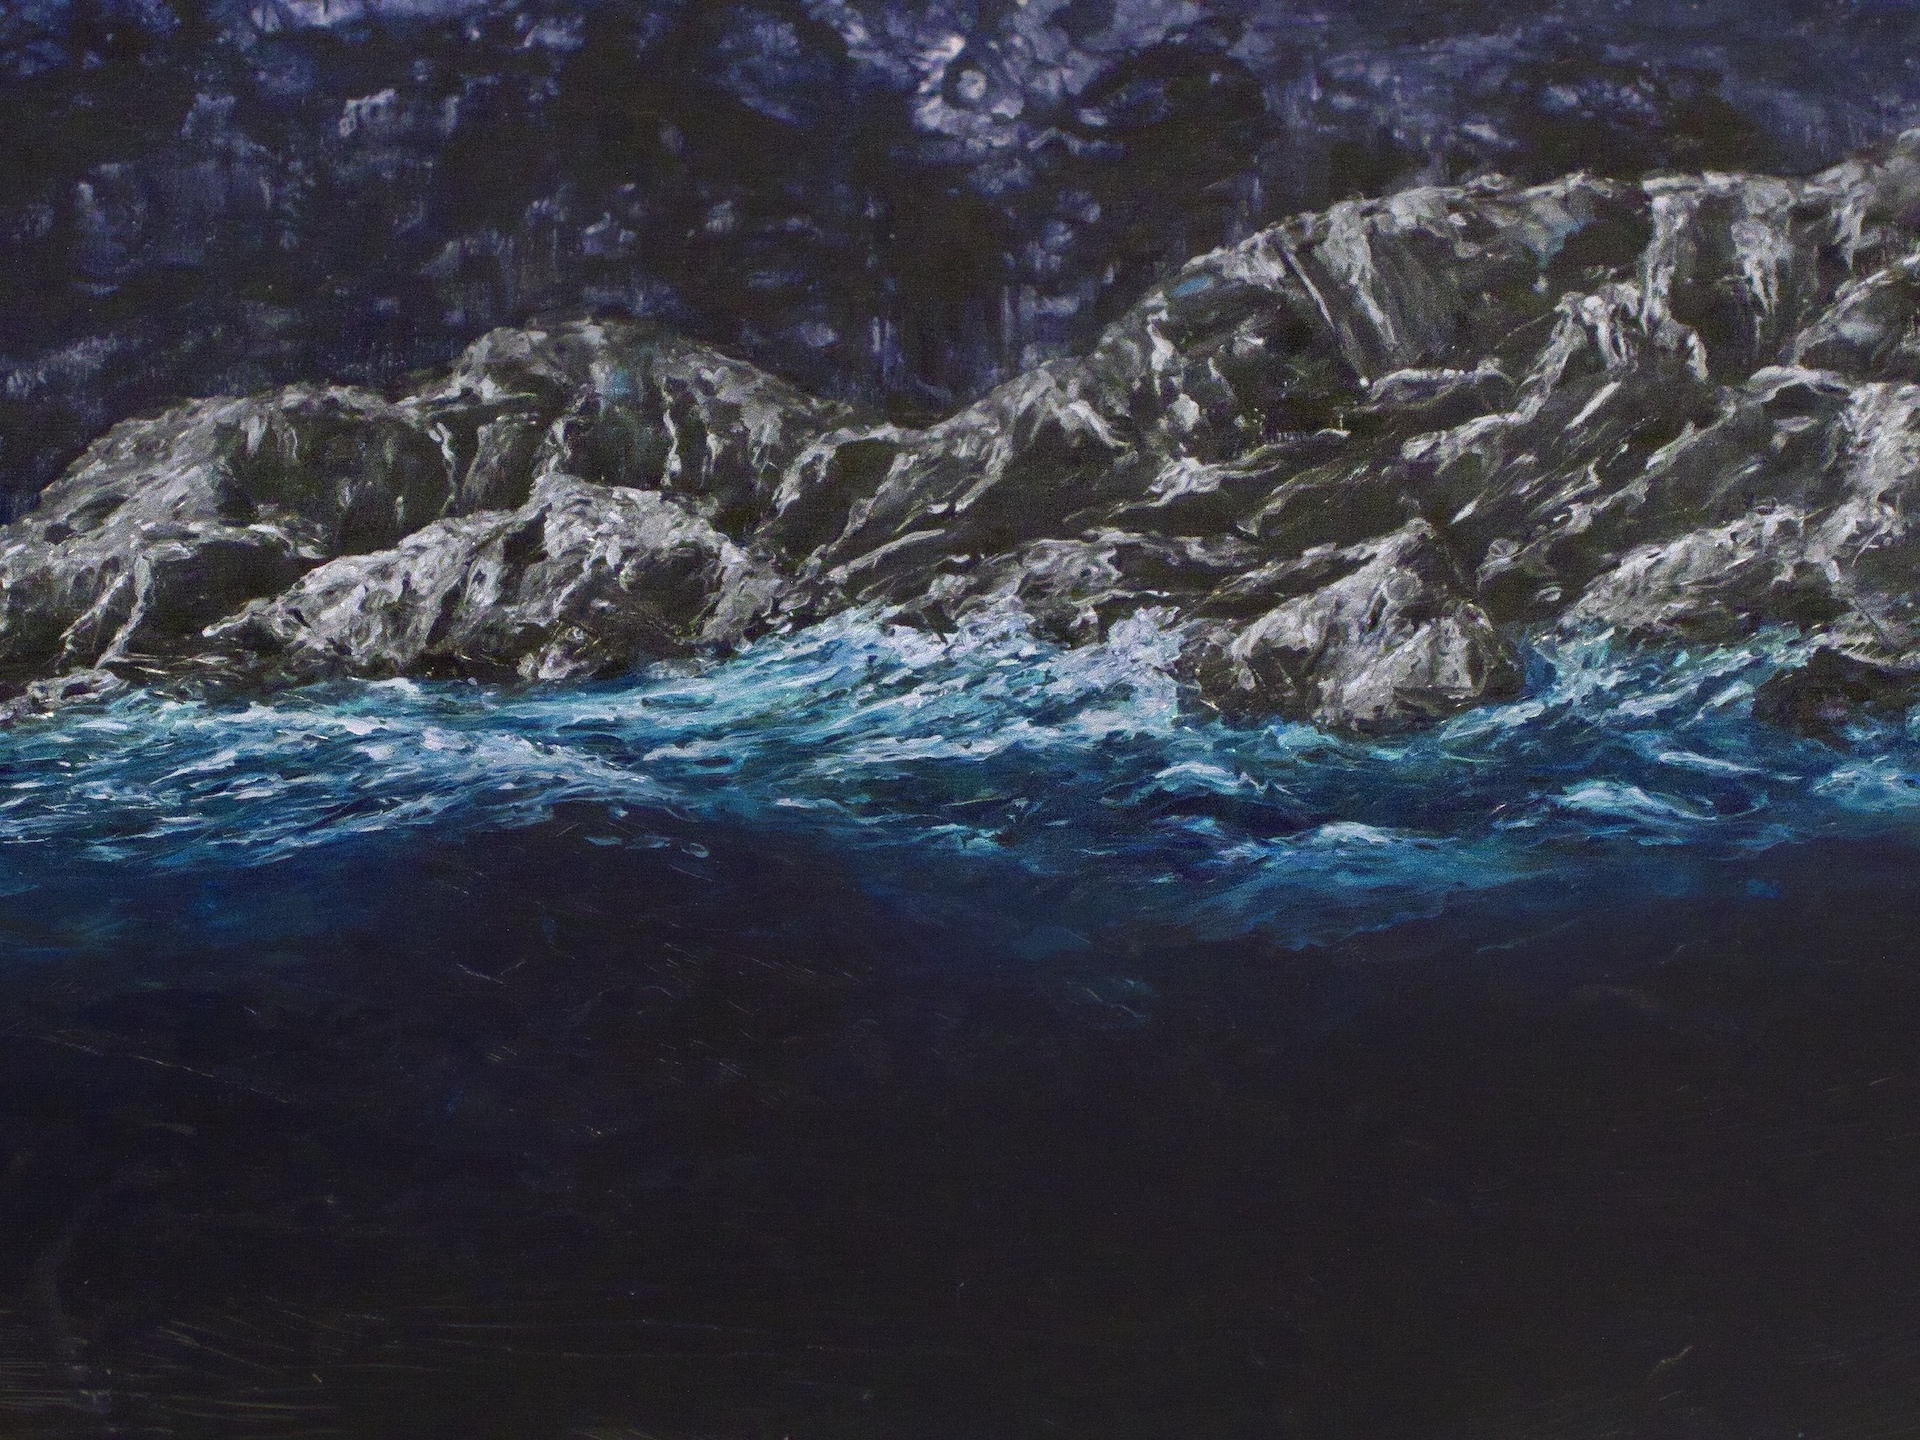
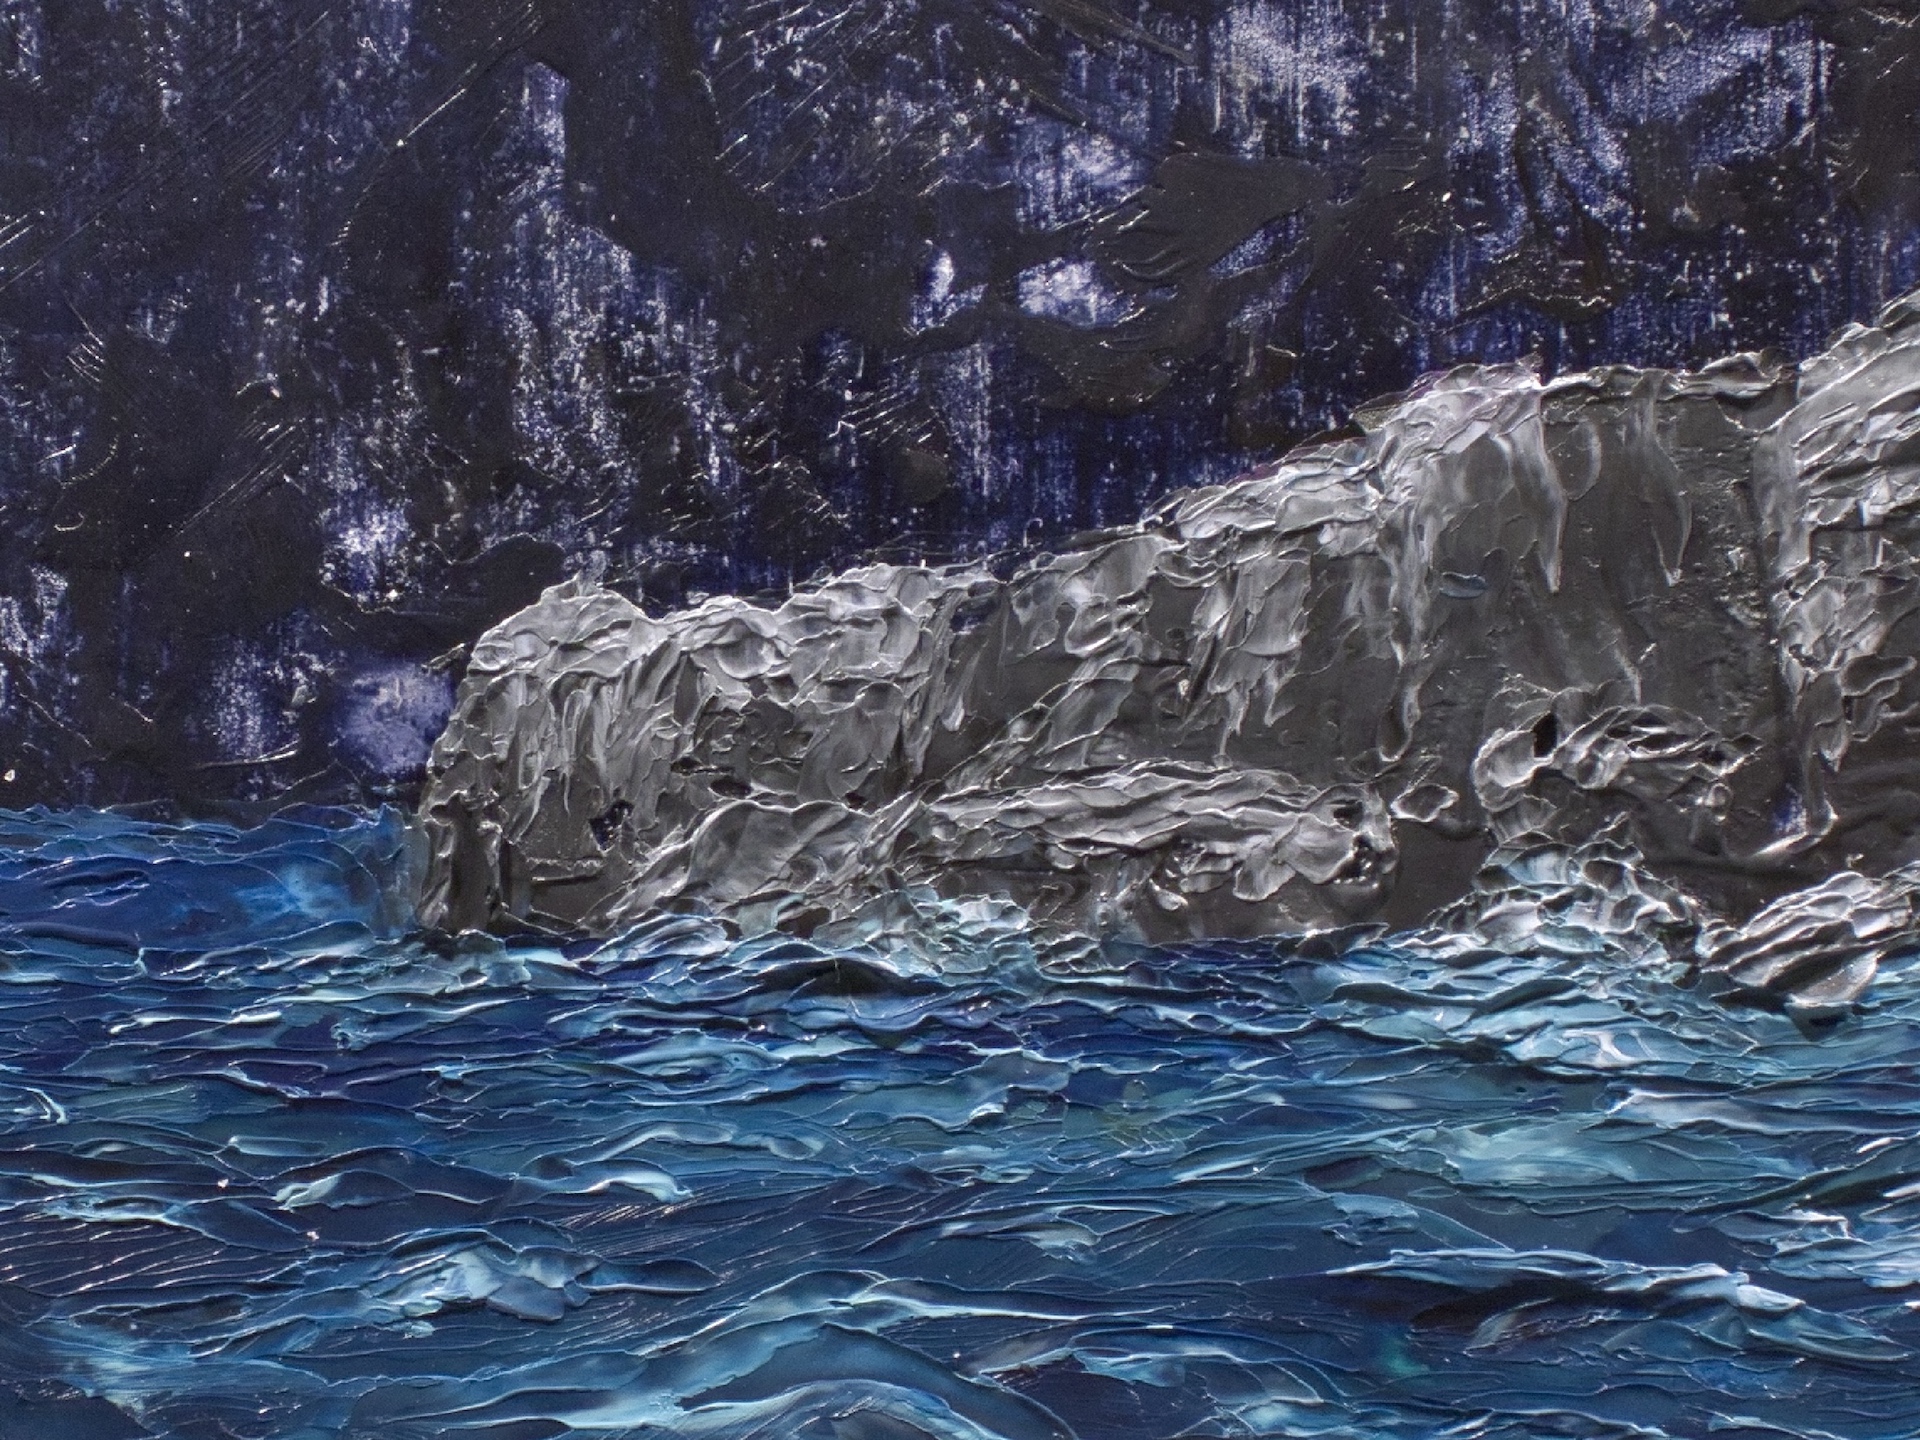
9. I then added the foreground waves and wave highlights to finish.
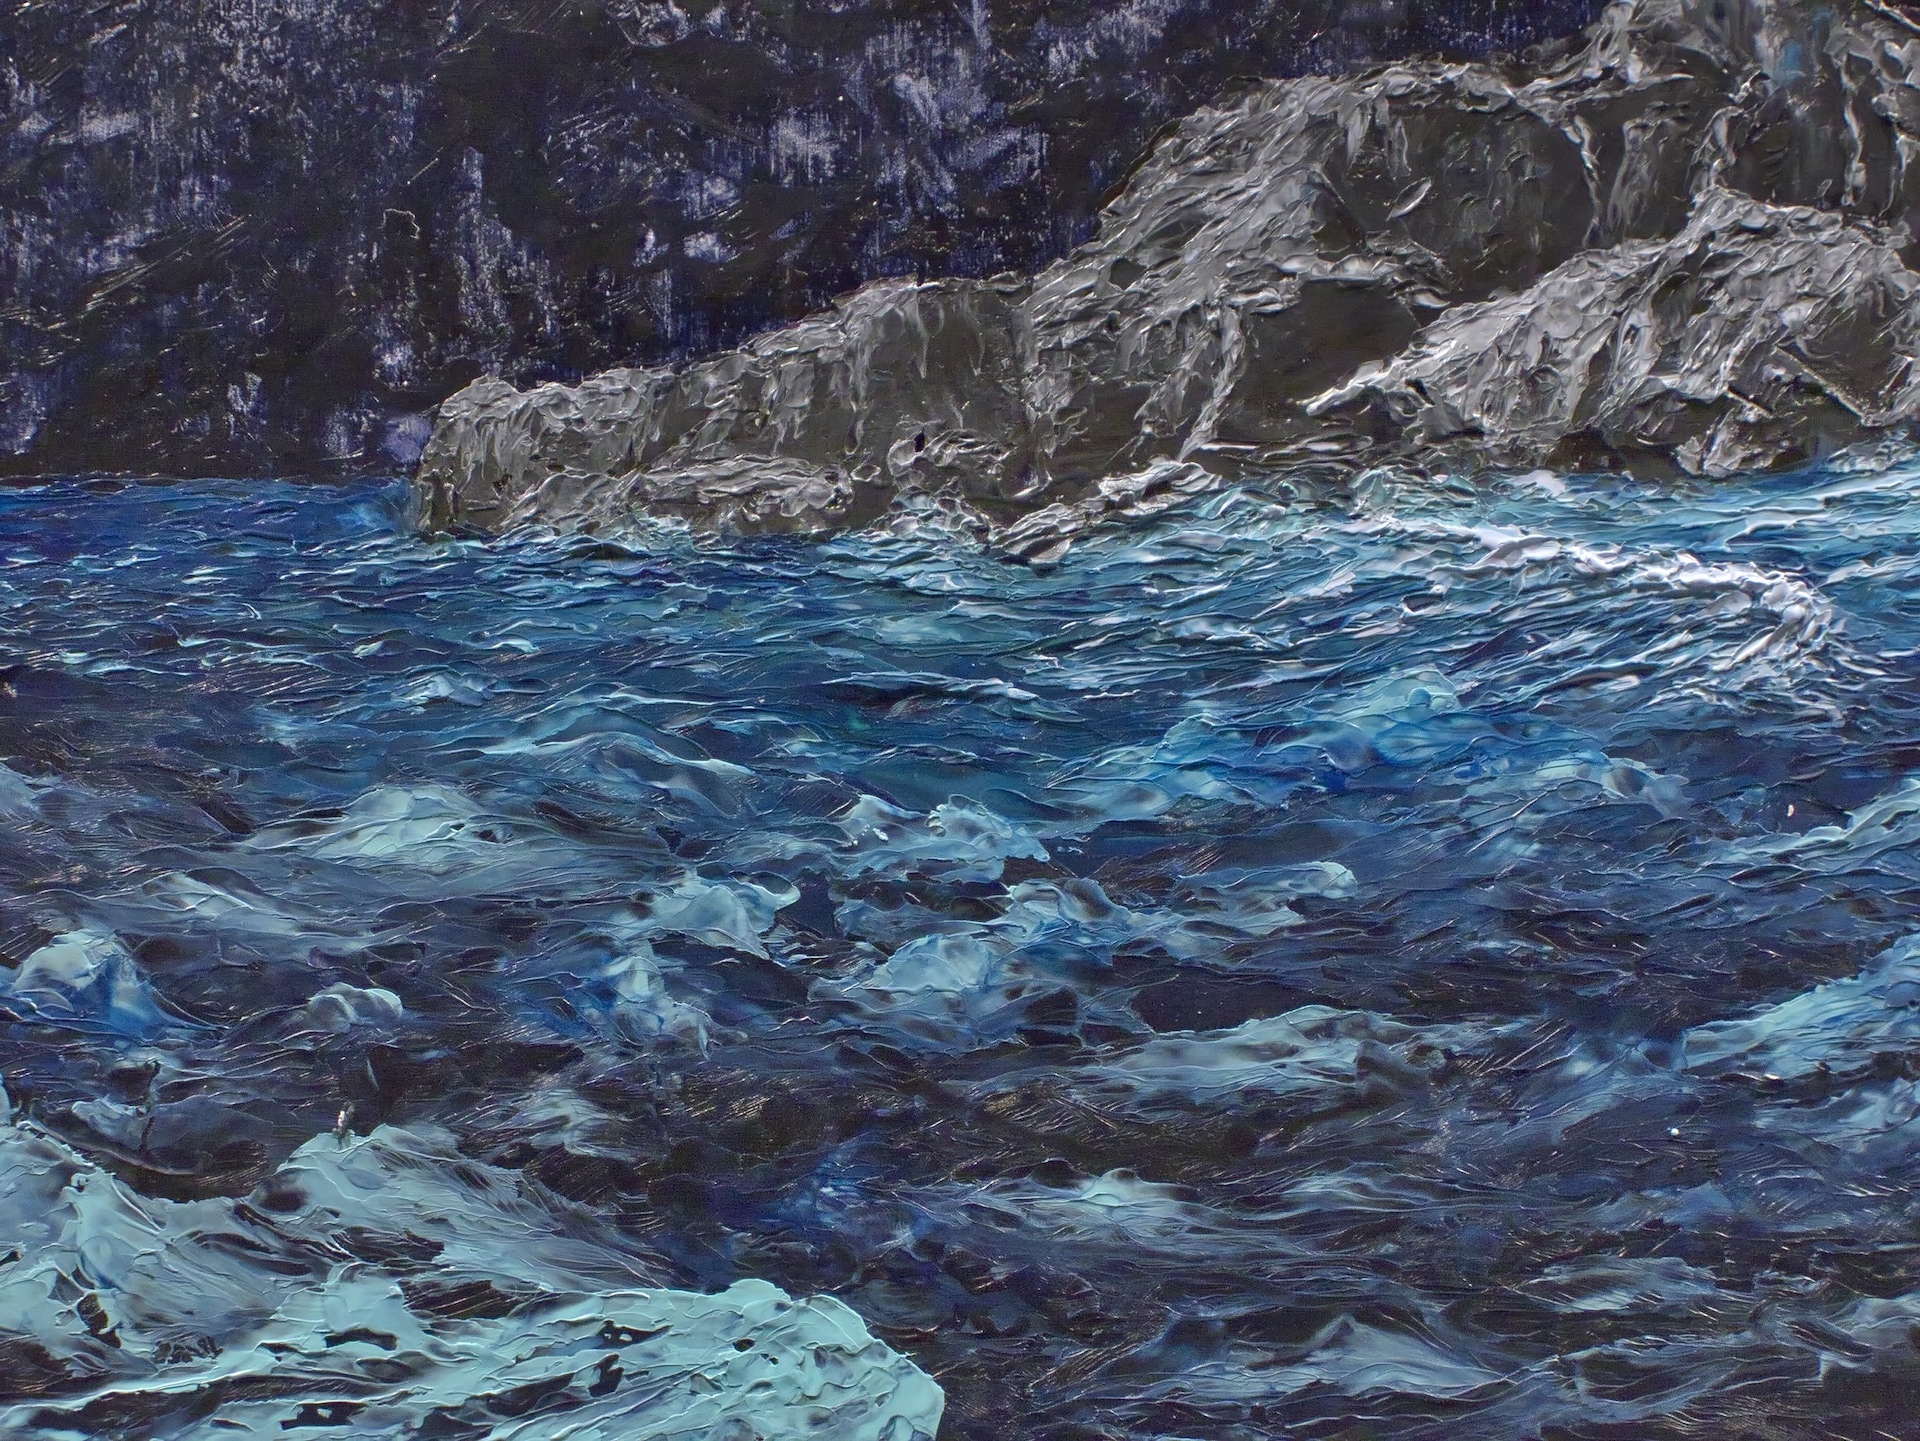
Here are close-ups where you can see multiple layers of paint, and where it was blended and moved around to create the various textures. There are many areas where the paint and the way it was applied are reminiscent of a sculpted application of cake frosting…really…
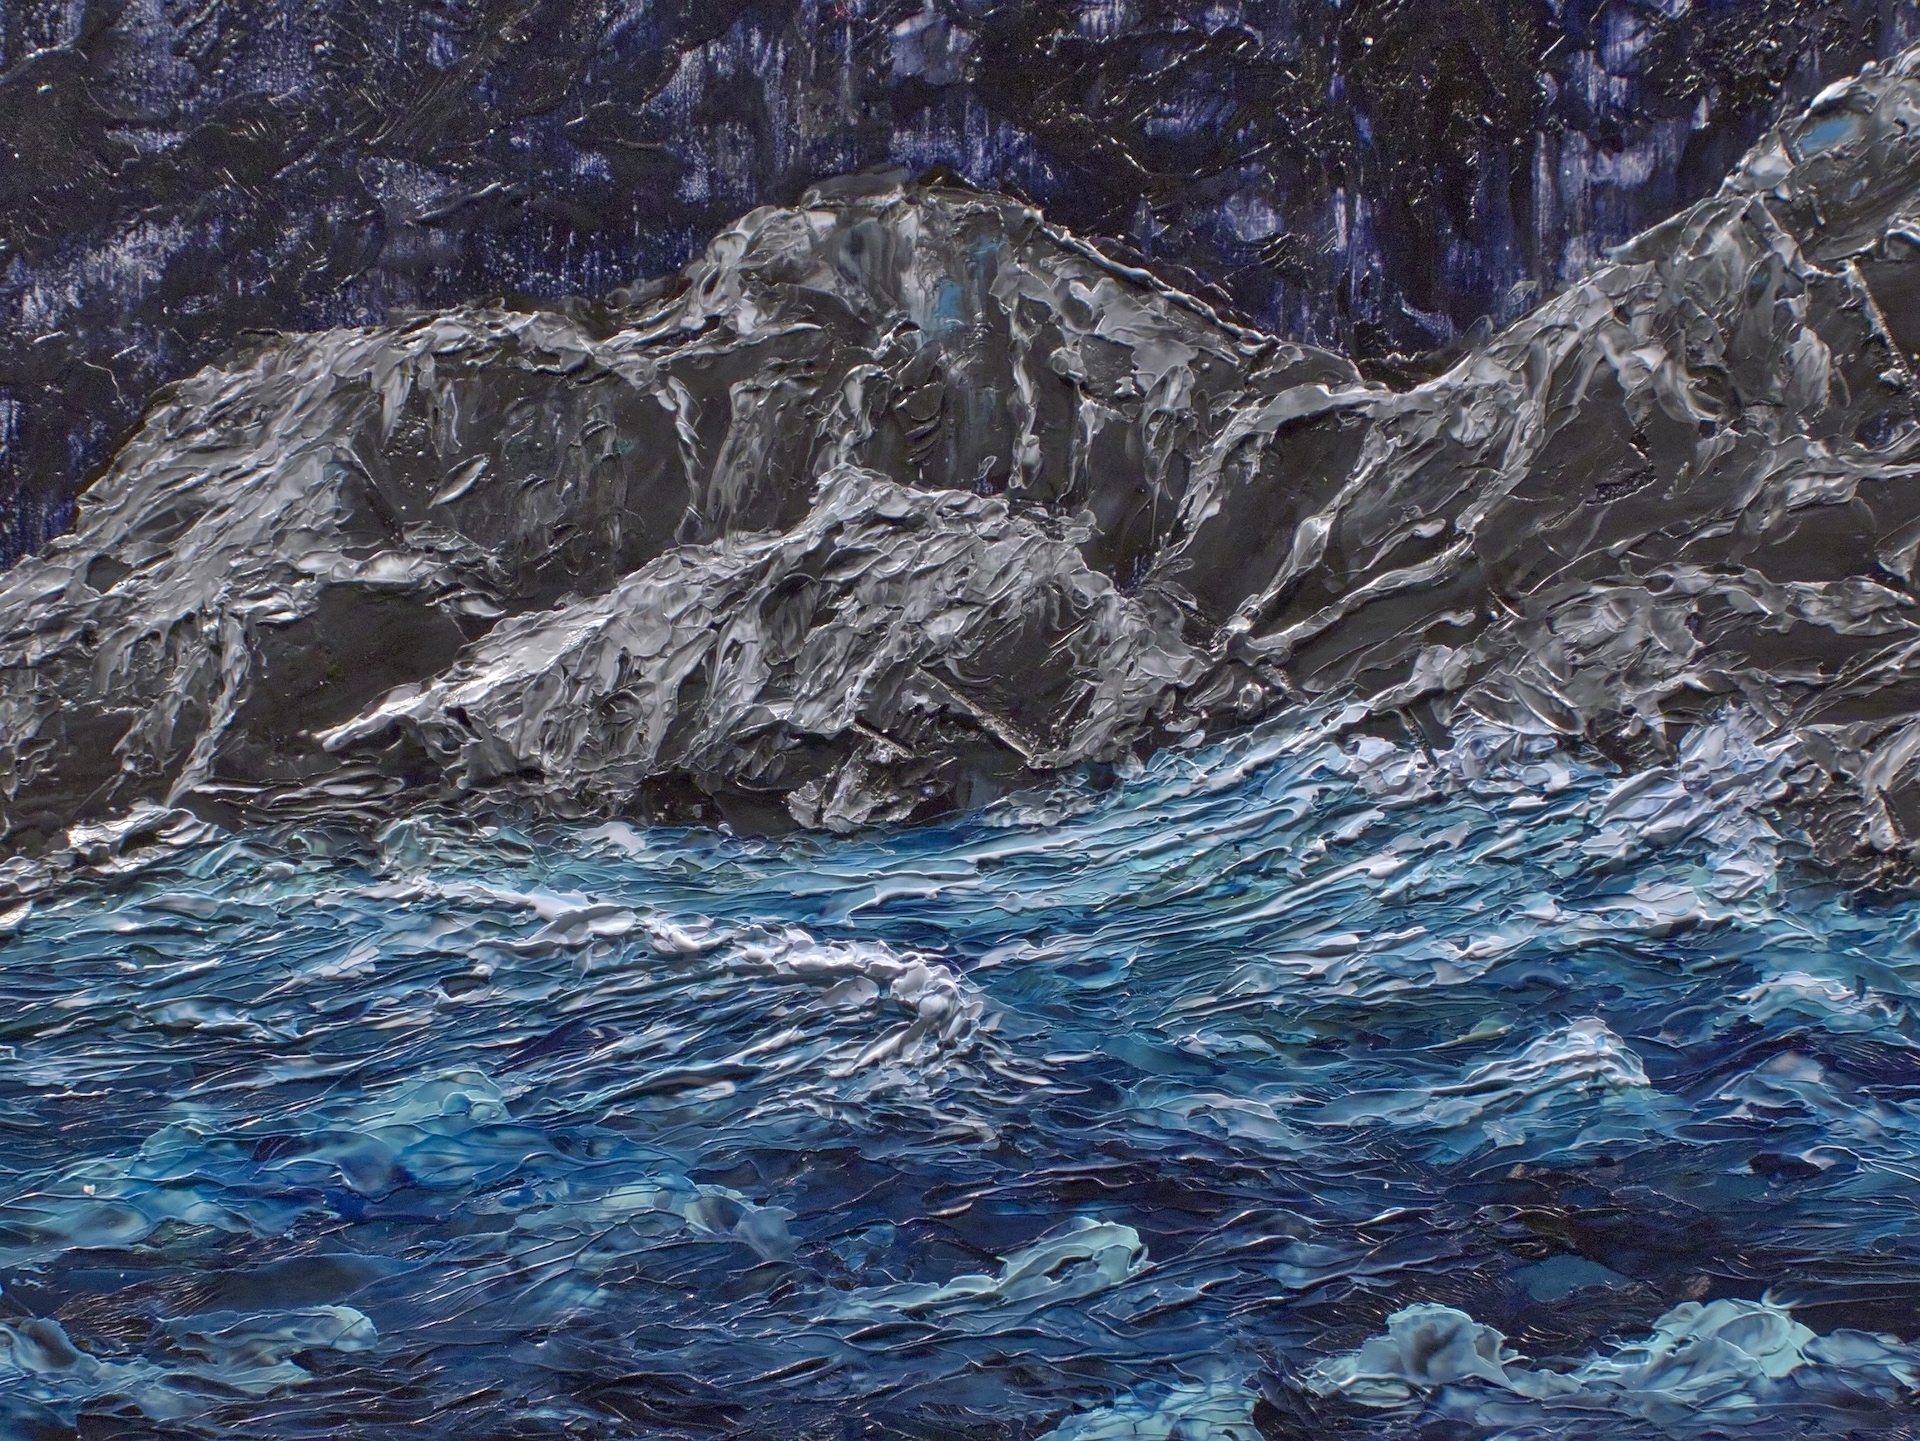
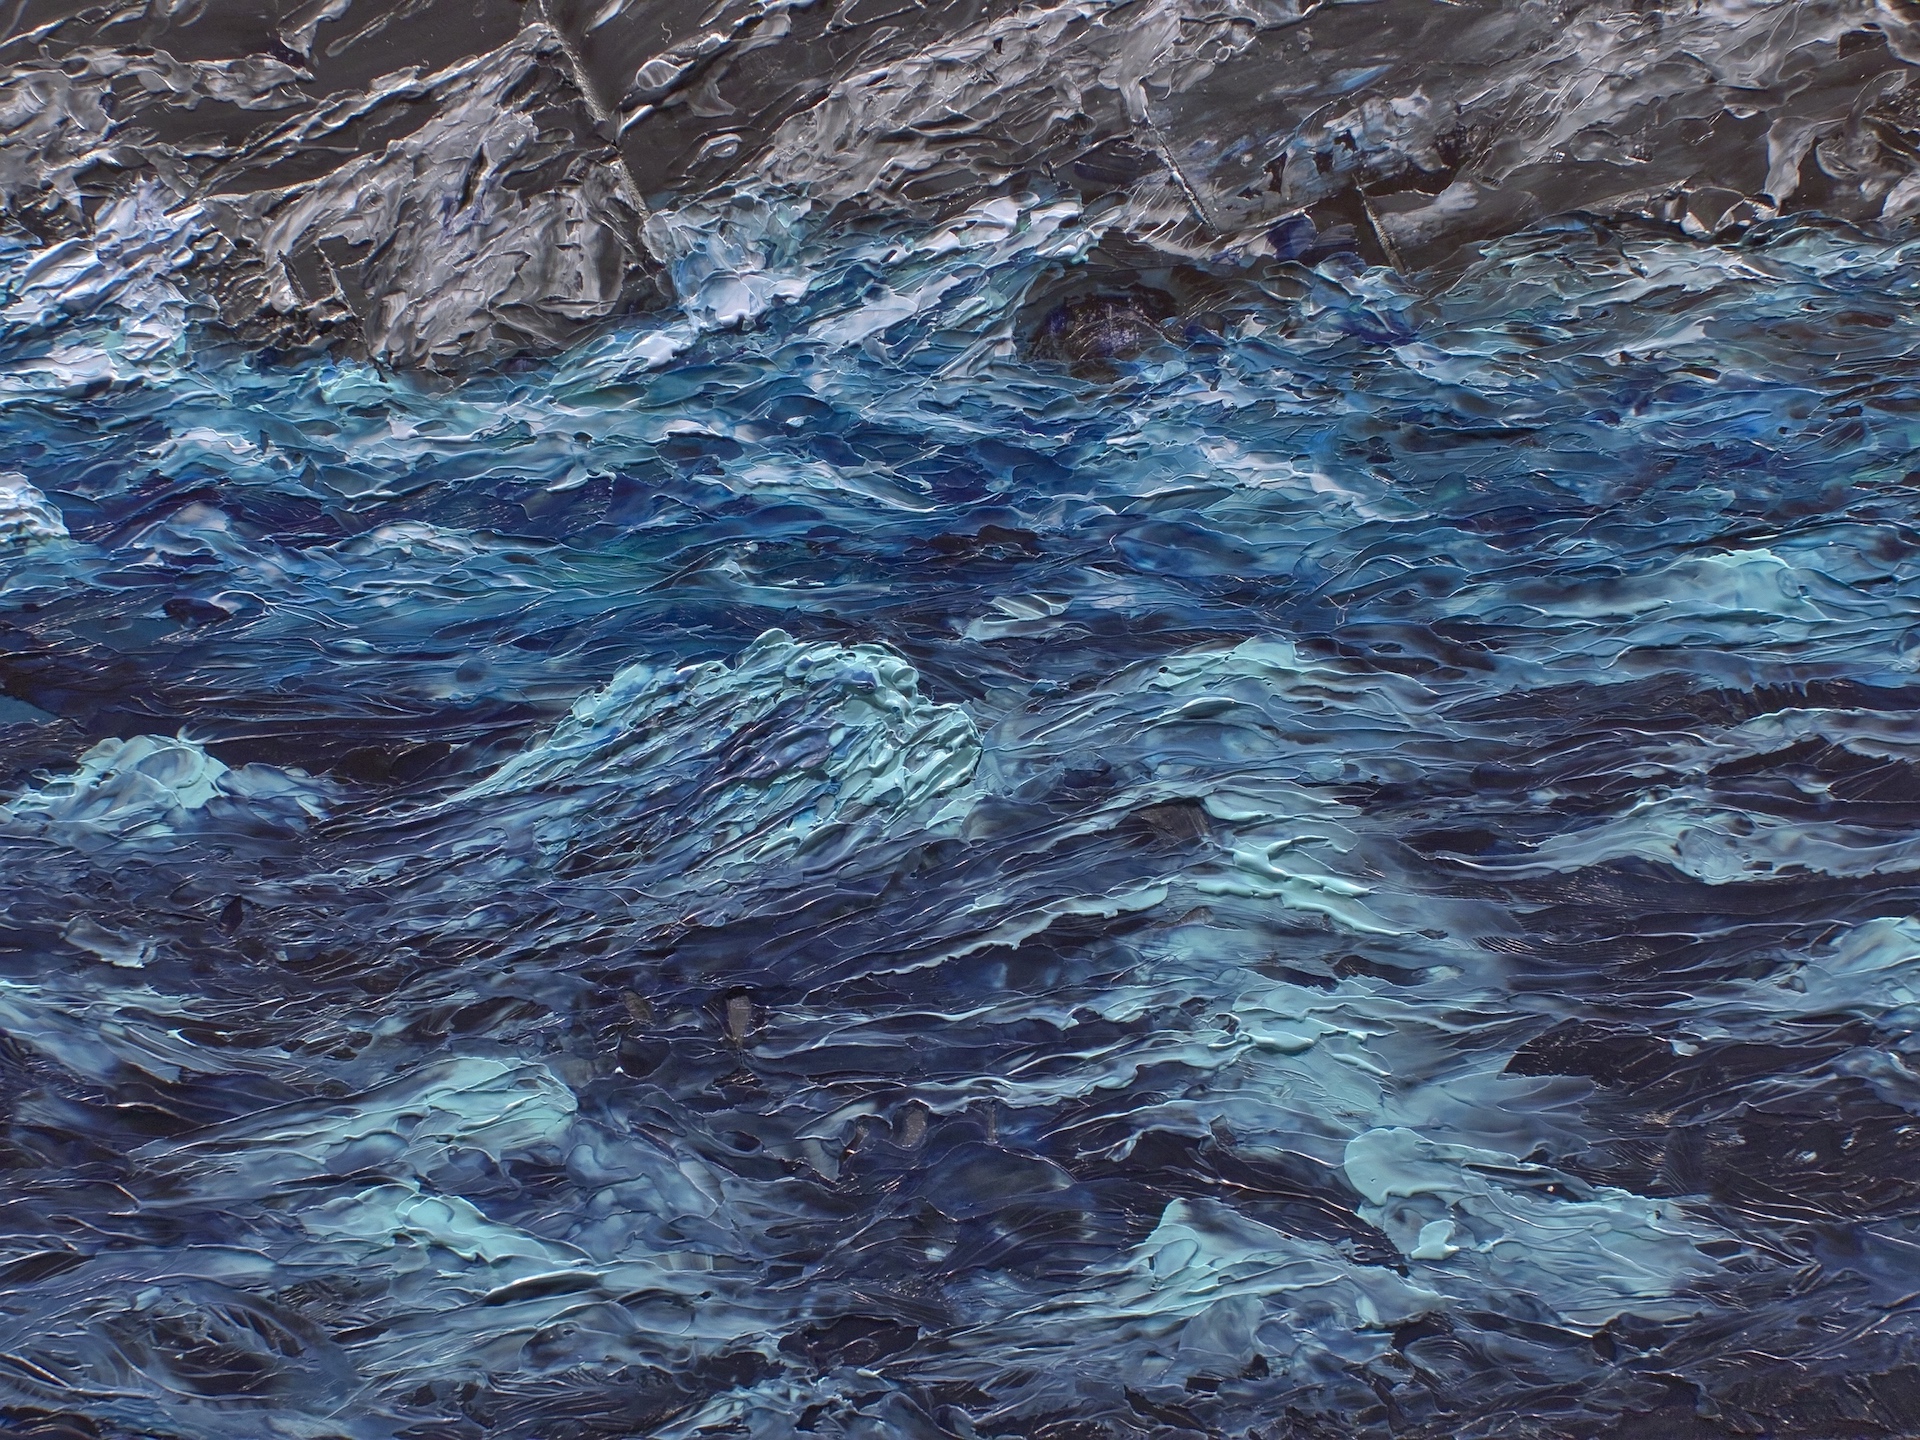
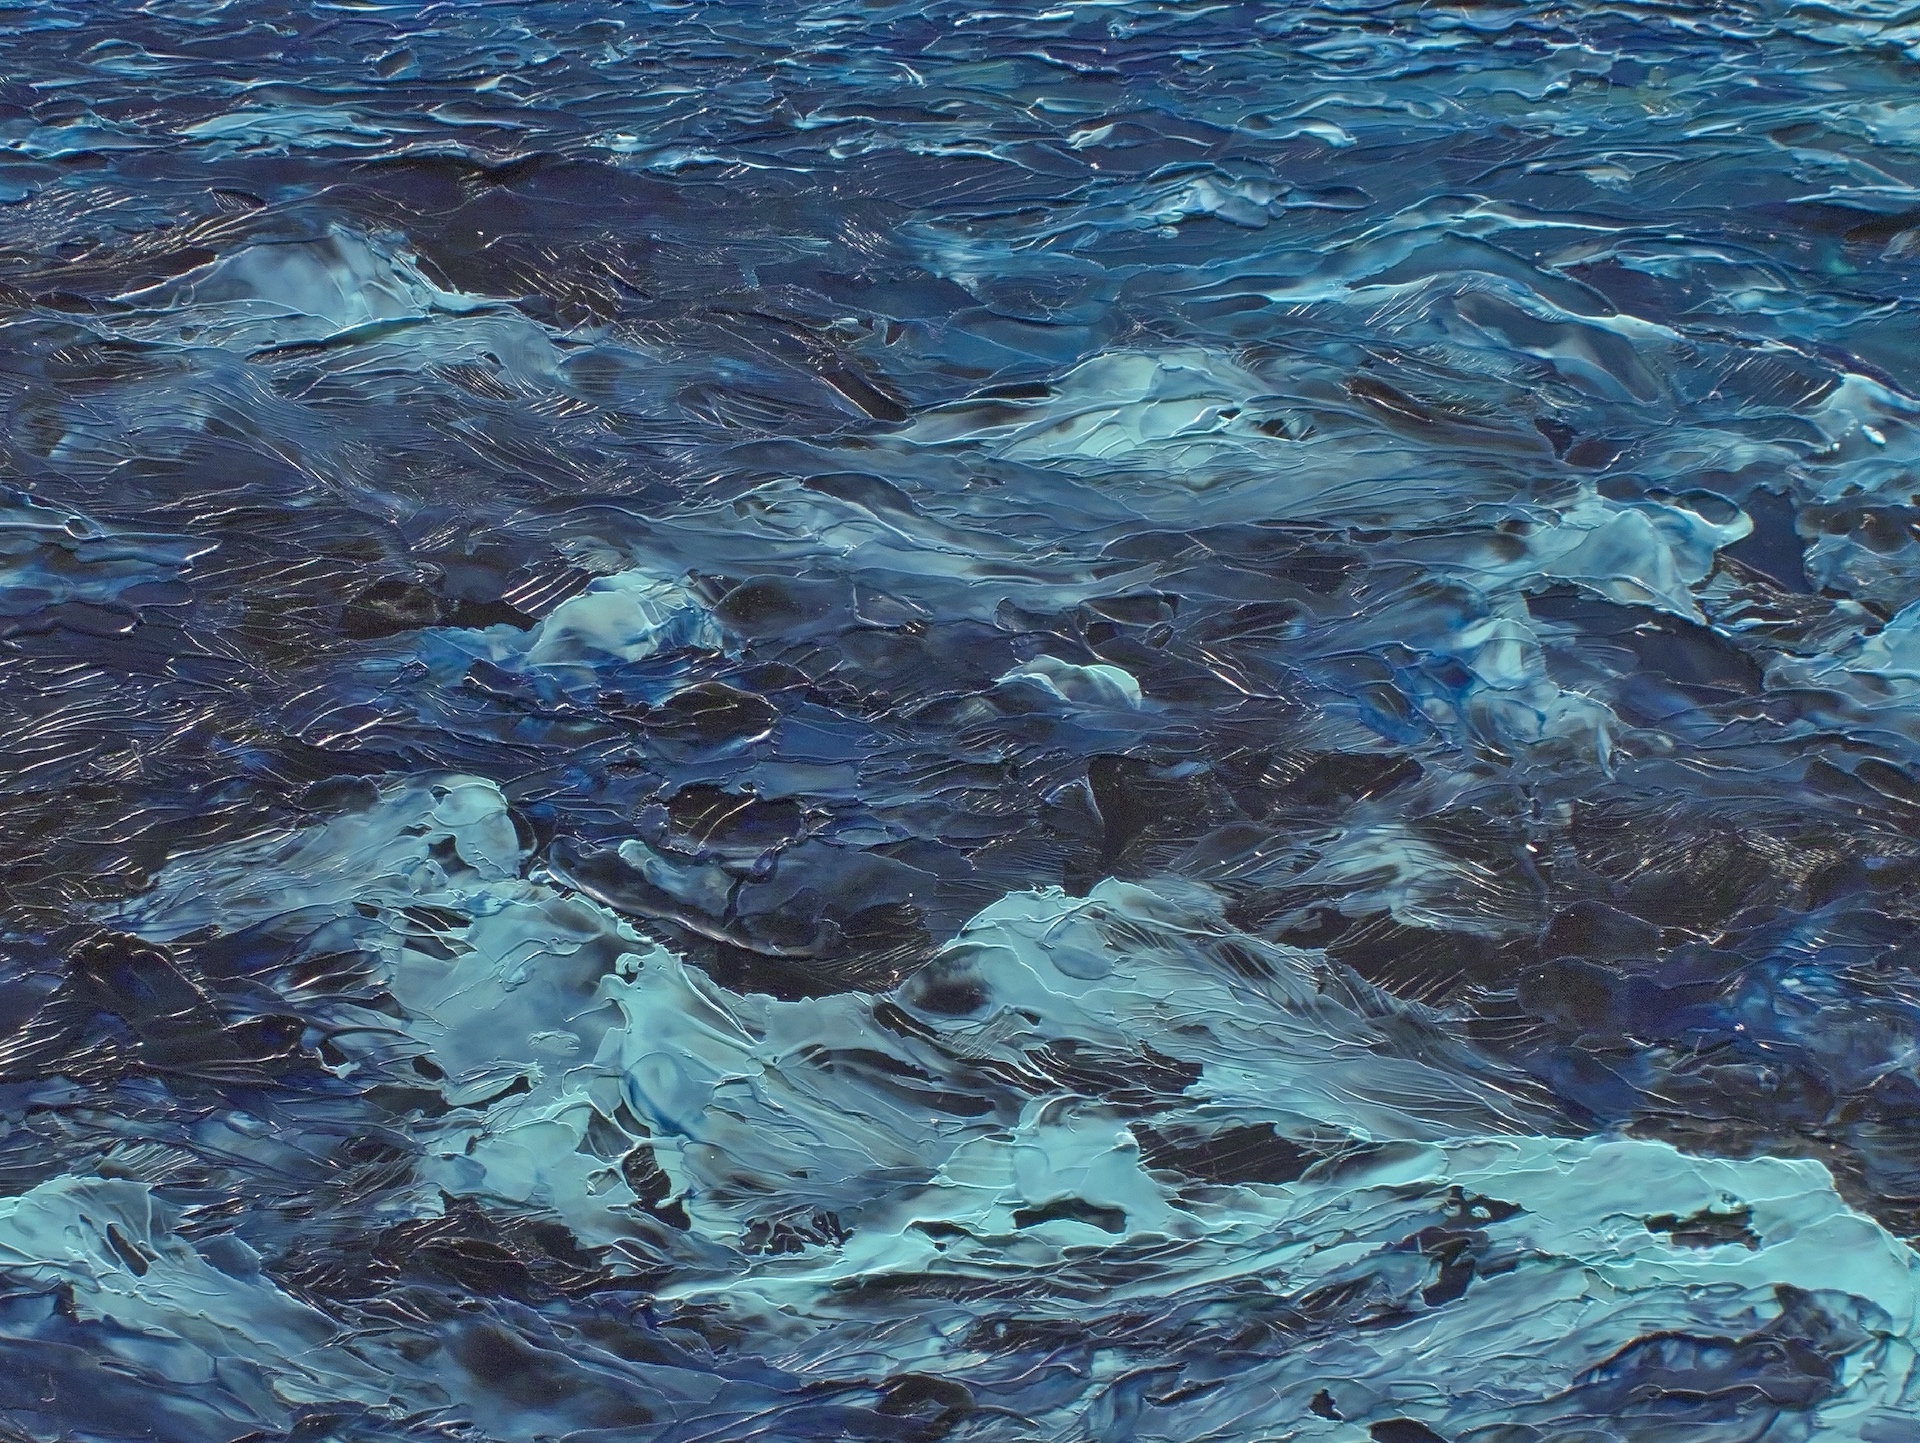
What can be amazing with some paintings made with oil and wax is that, if you view them under bright light, you will see more details and subtleties in the piece versus viewing it under dimmer light. This is due to the translucent nature of wax (your eye is seeing light reflected from the white base of the painting through all of the layers, not just the light reflected from the top layer which is what happens when lighting levels are lower). This is one of those paintings. It’s hard to visualize this without seeing the piece in person so I’ve photographed some of the above wave details under brighter light in an attempt to illustrate this. The water can look quite three dimensional in some areas.
I hope that you’ve enjoyed learning a little about my creative process and how I approached the making of Stellar Project I. If you have any thoughts or questions on any of the above, I’d like to hear from you.
Michael C
If you found this article interesting, subscribe to receive information about my work and creative process, and also get access to my free ebook about becoming more creative.


